How to make an ADJUSTABLE Bag Strap.
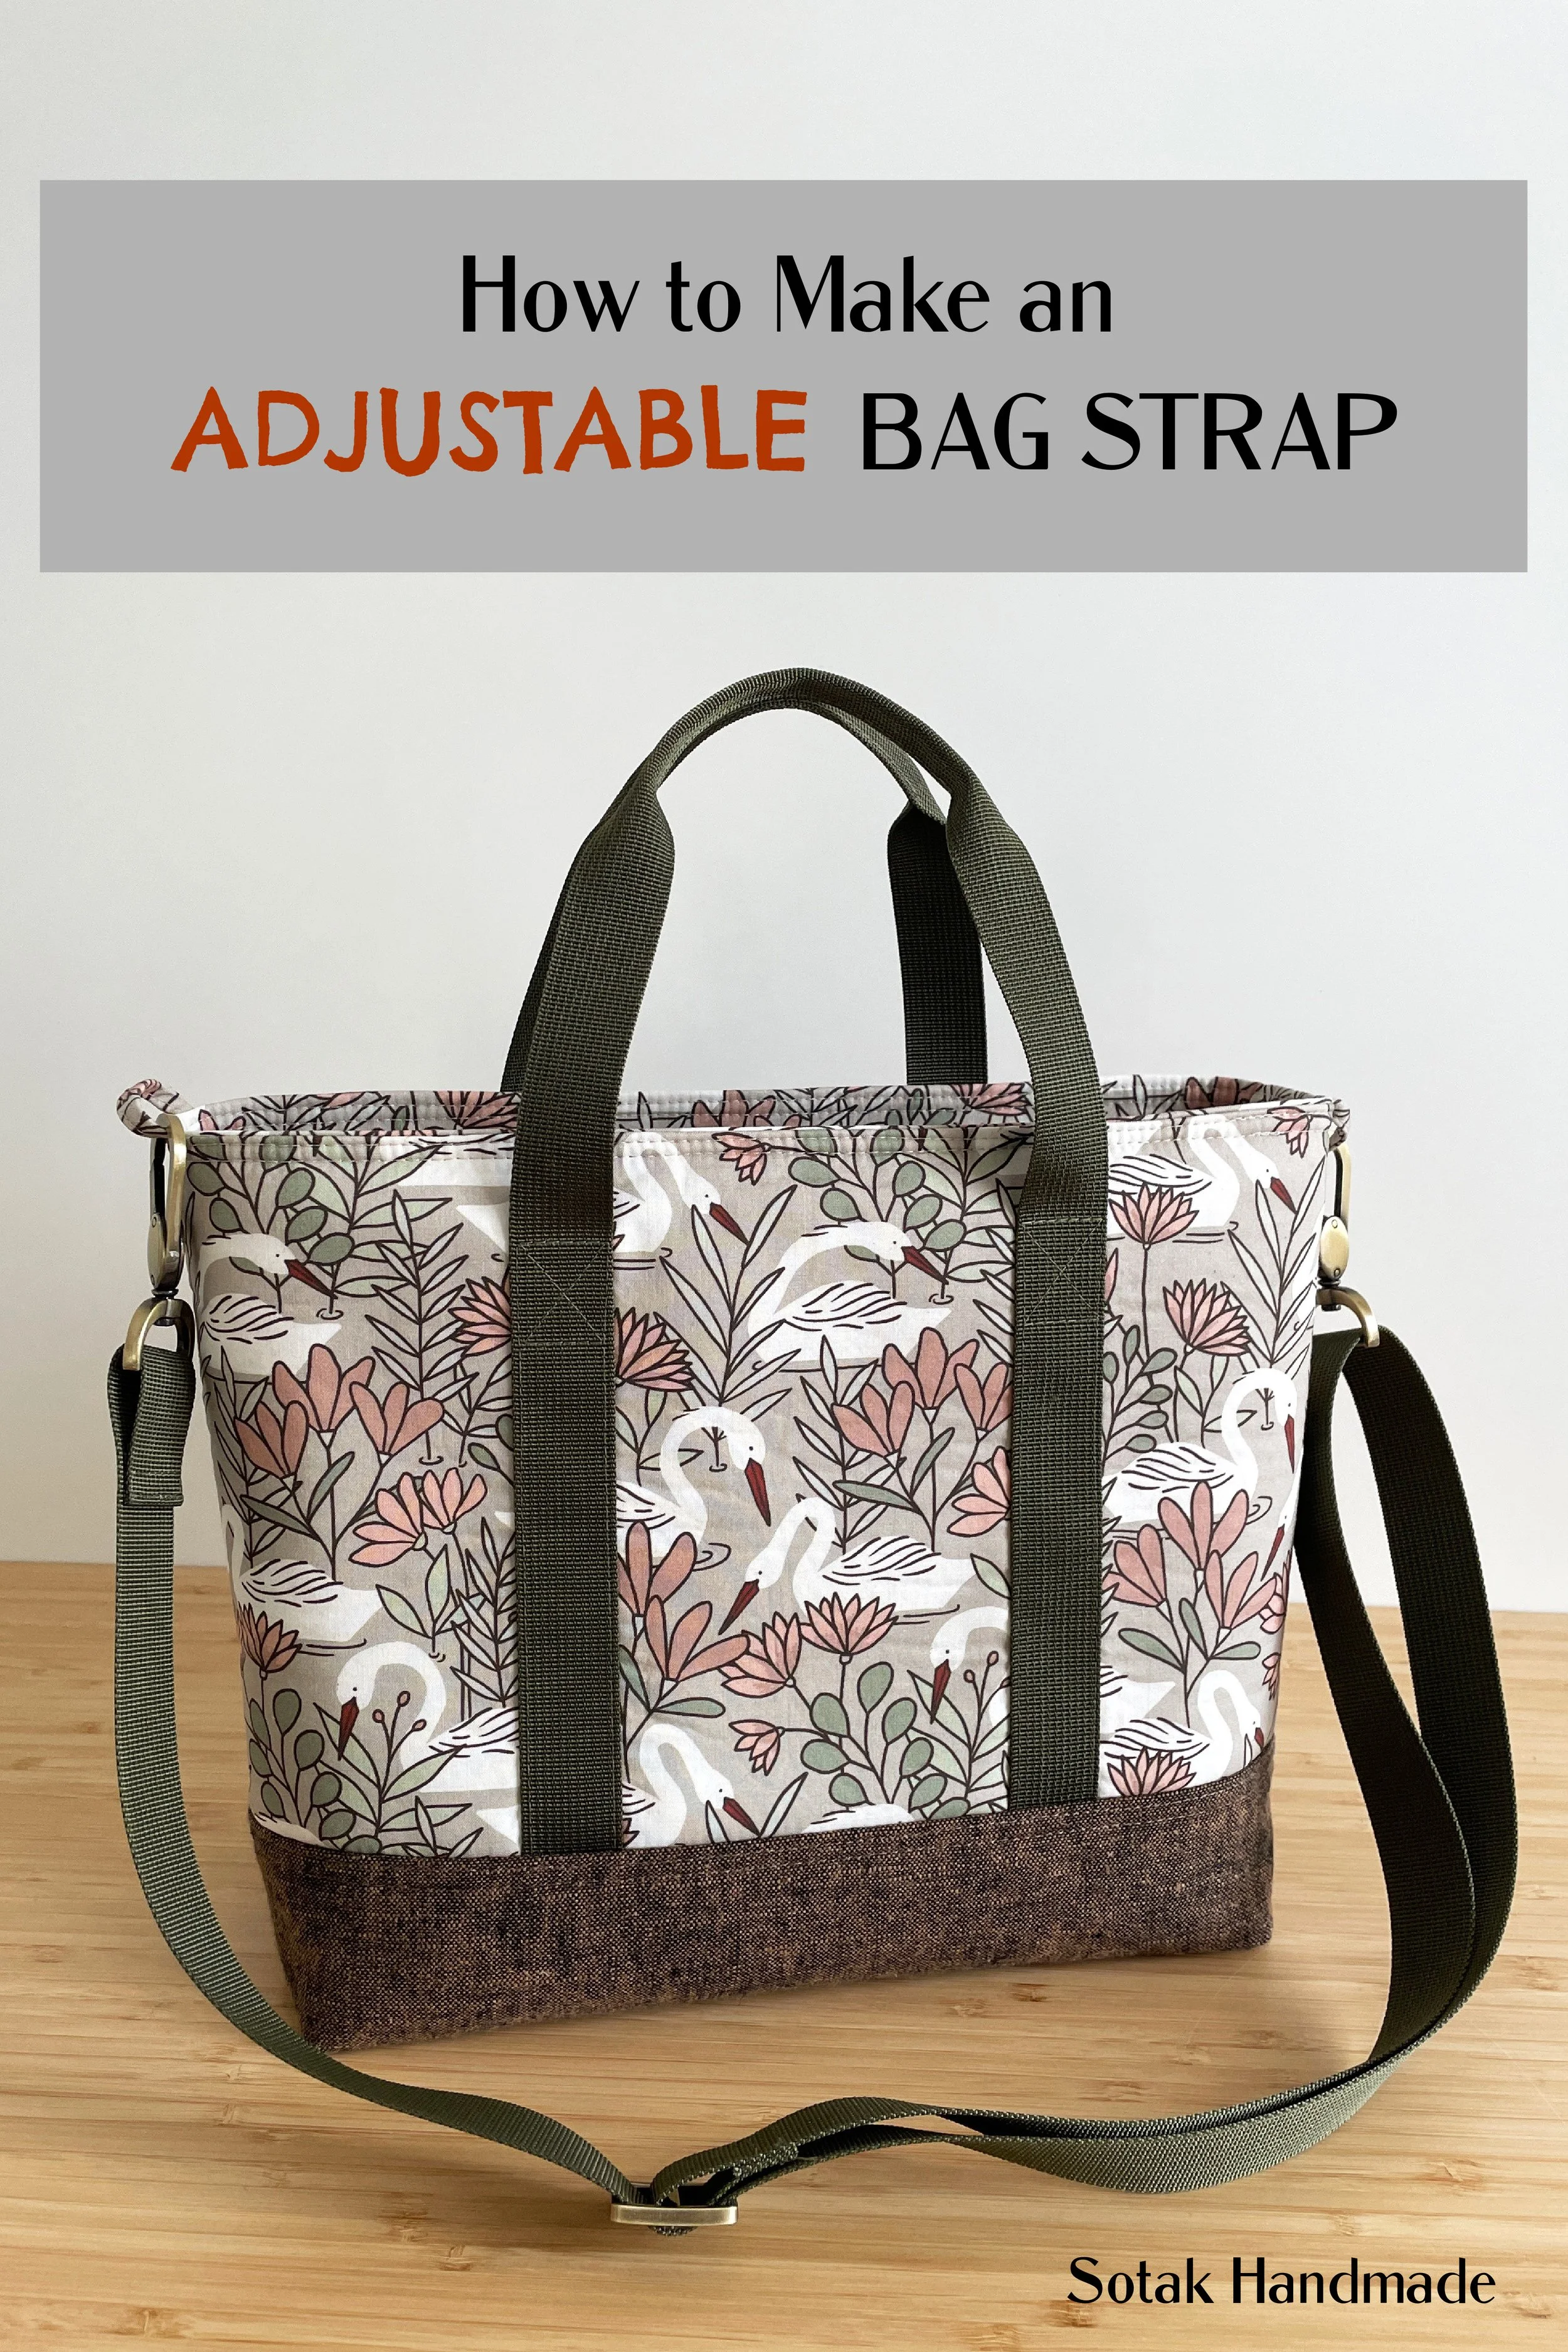
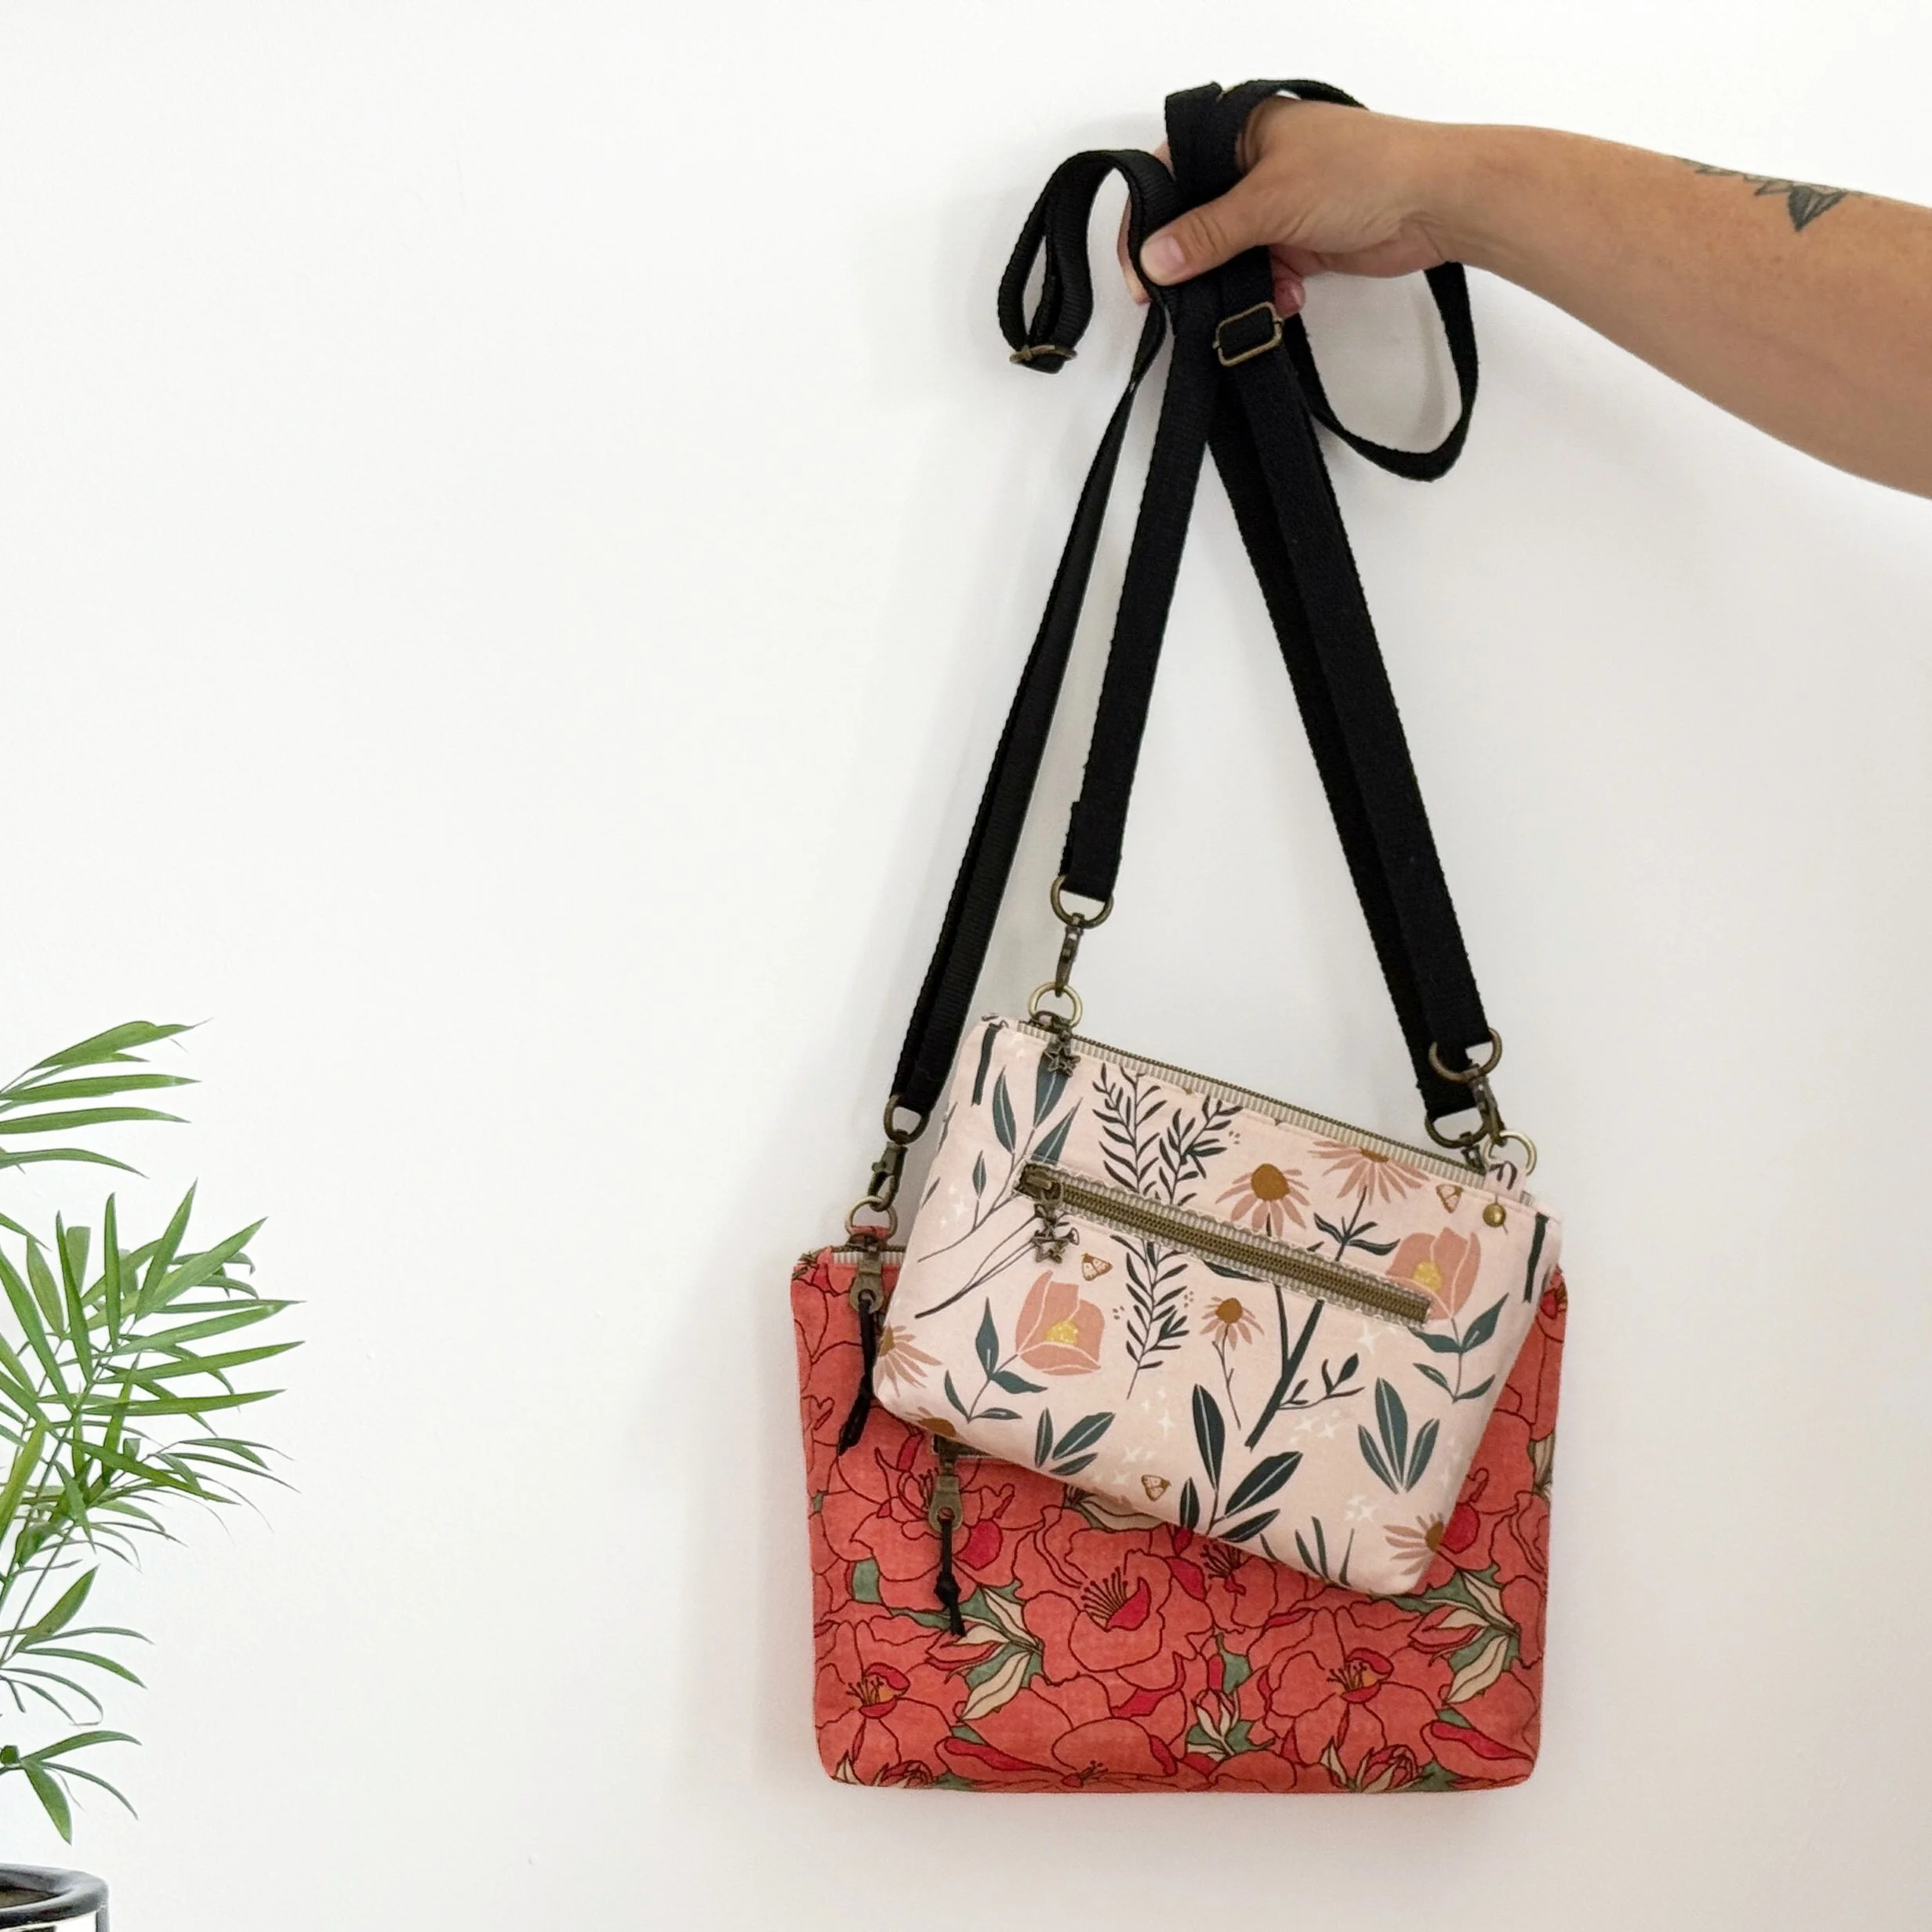
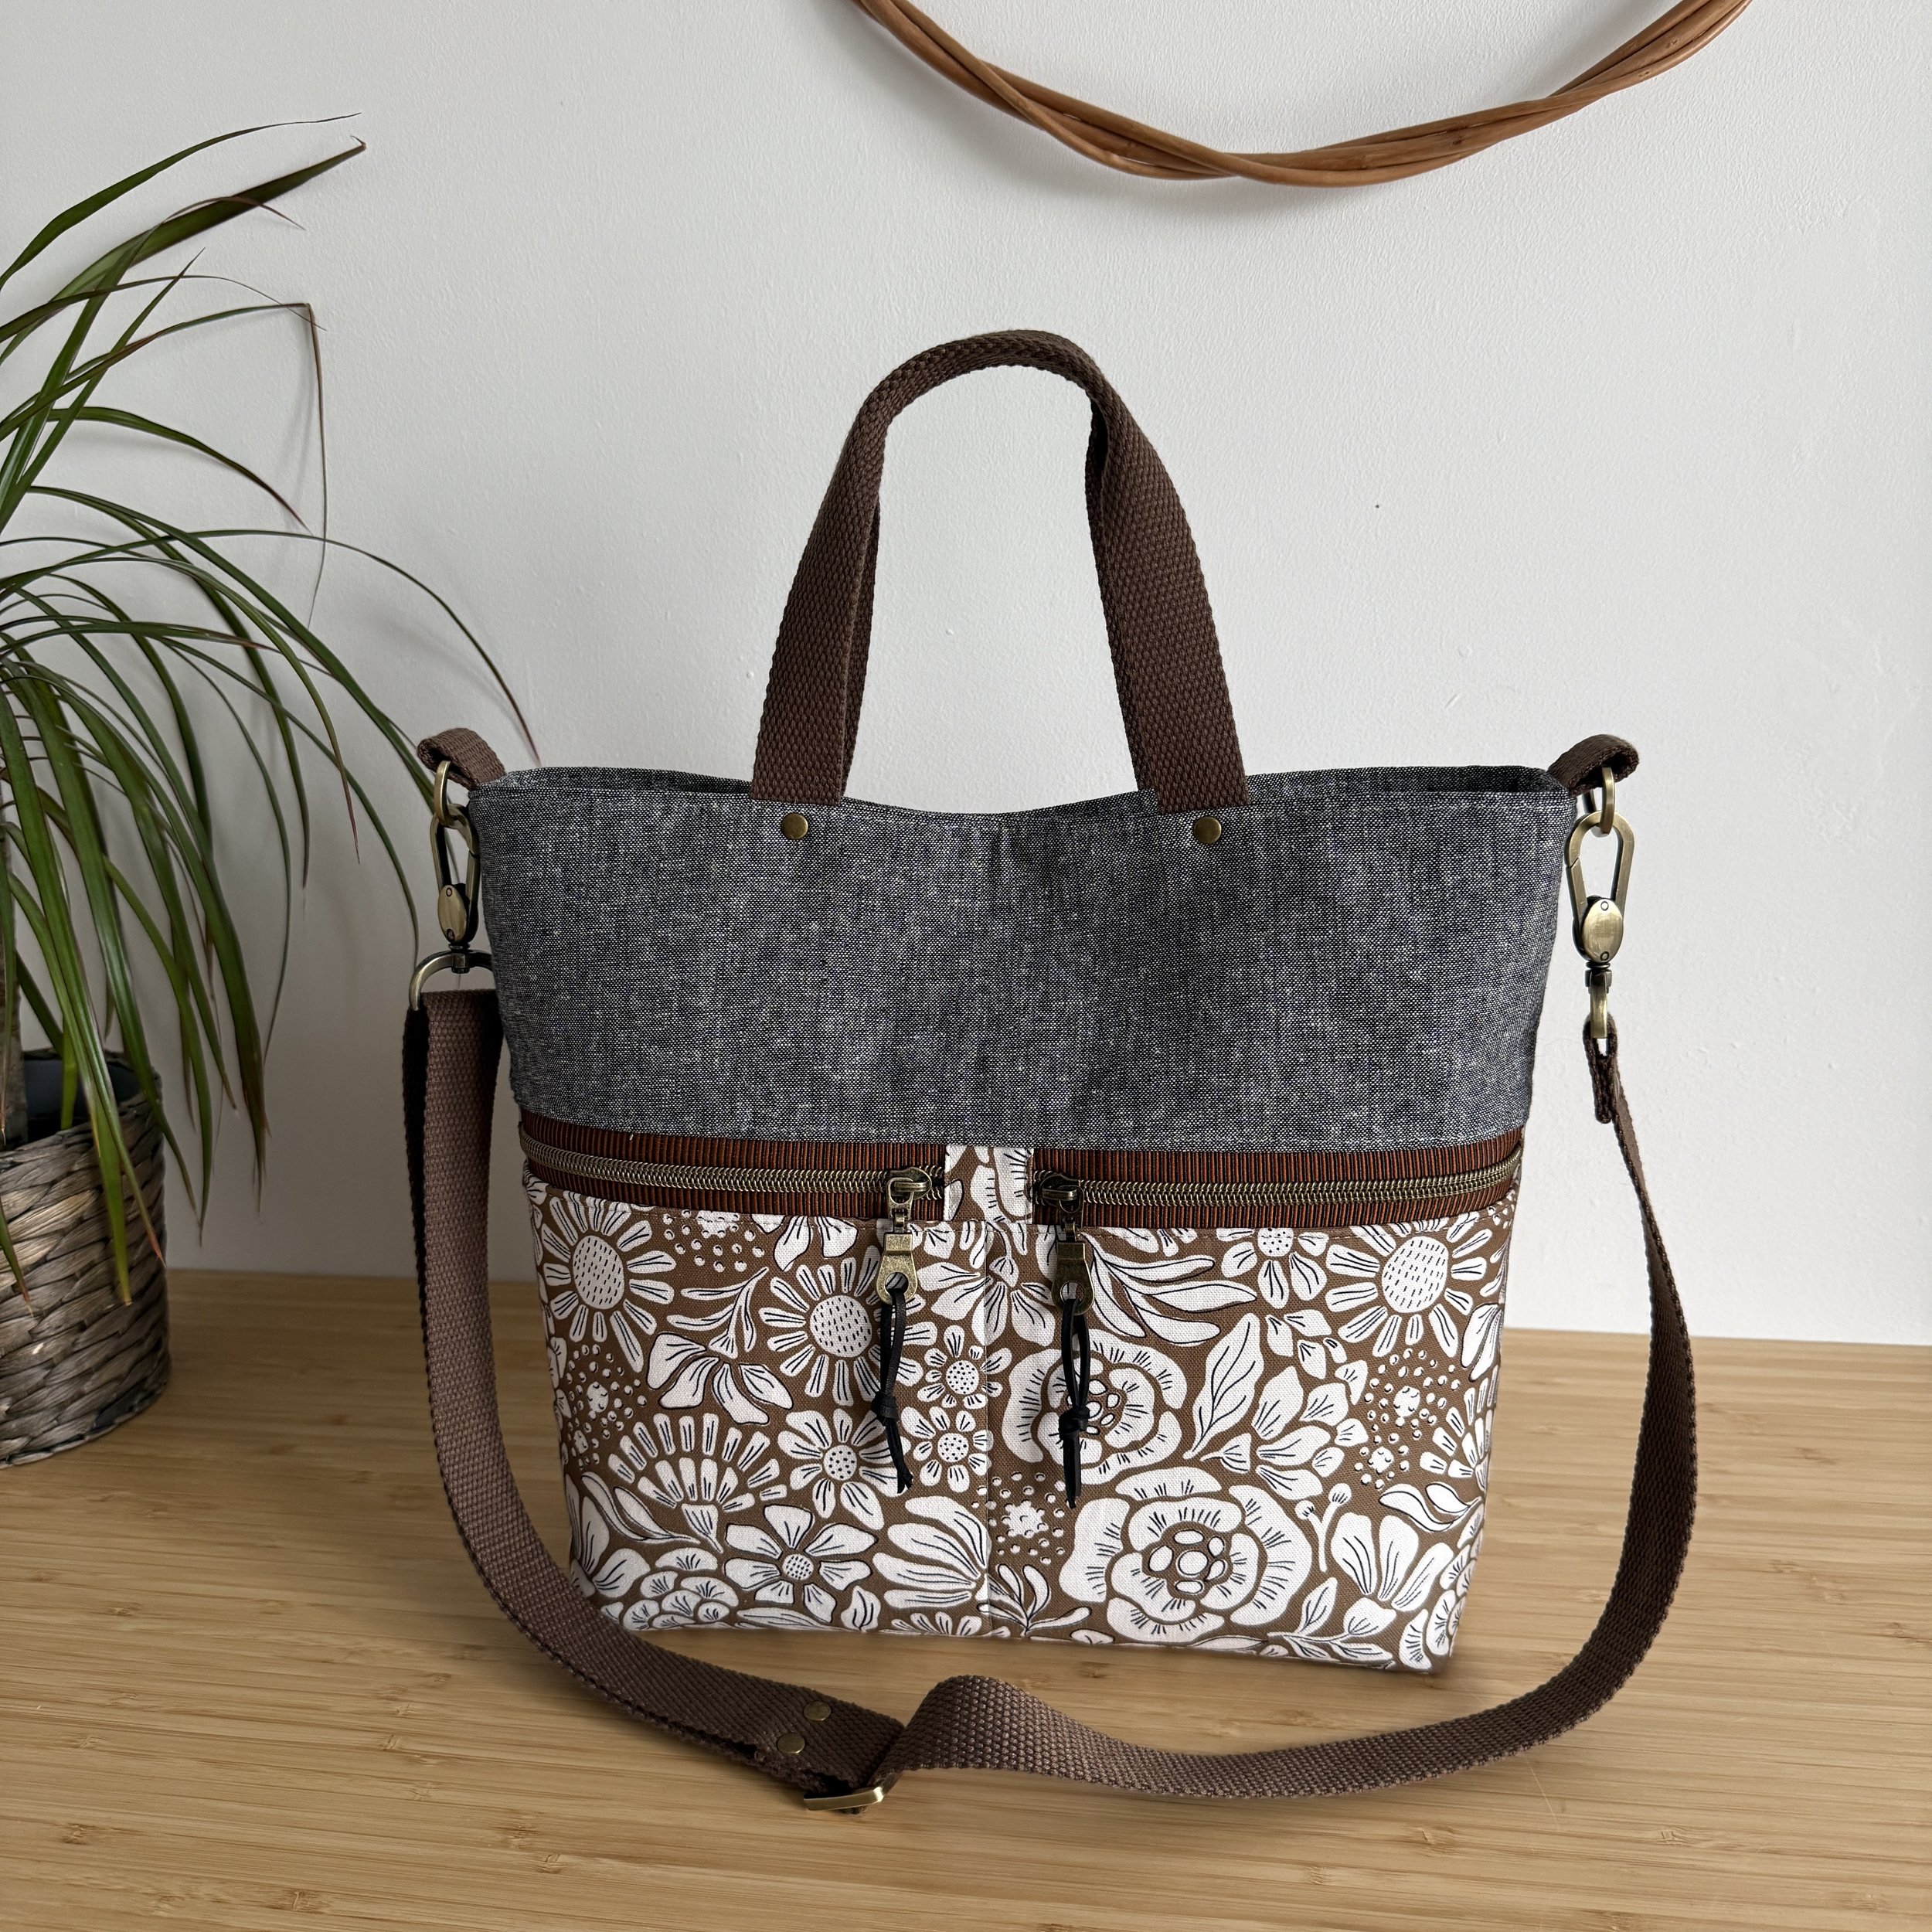
Adjustable straps are one of those small design features that make a big difference in how practical and user-friendly a finished bag feels. They make it possible to customize the strap length to suit one’s height, outfit, or comfort level, whether you prefer to wear your bag crossbody, over the shoulder, or even carry it by hand.
In this article, you’ll learn how to make your own adjustable strap from start to finish. I’ll walk you through each step of the process, assembling the strap so it’s both secure and easy to adjust. Once you’ve learned this technique, you can apply it to almost any bag you make, instantly adding a practical and professional-looking feature.
For this project, I use medium-weight webbing because it’s durable, easy to work with, and holds its shape well over time. My preferred width is 1’’ [2.5cm], which creates a comfortable, balanced strap for most bags. However, if you prefer a slightly wider look or want extra support for a heavier bag, you can also use 1 ¼’’ or 1 ½’’ wide webbing.
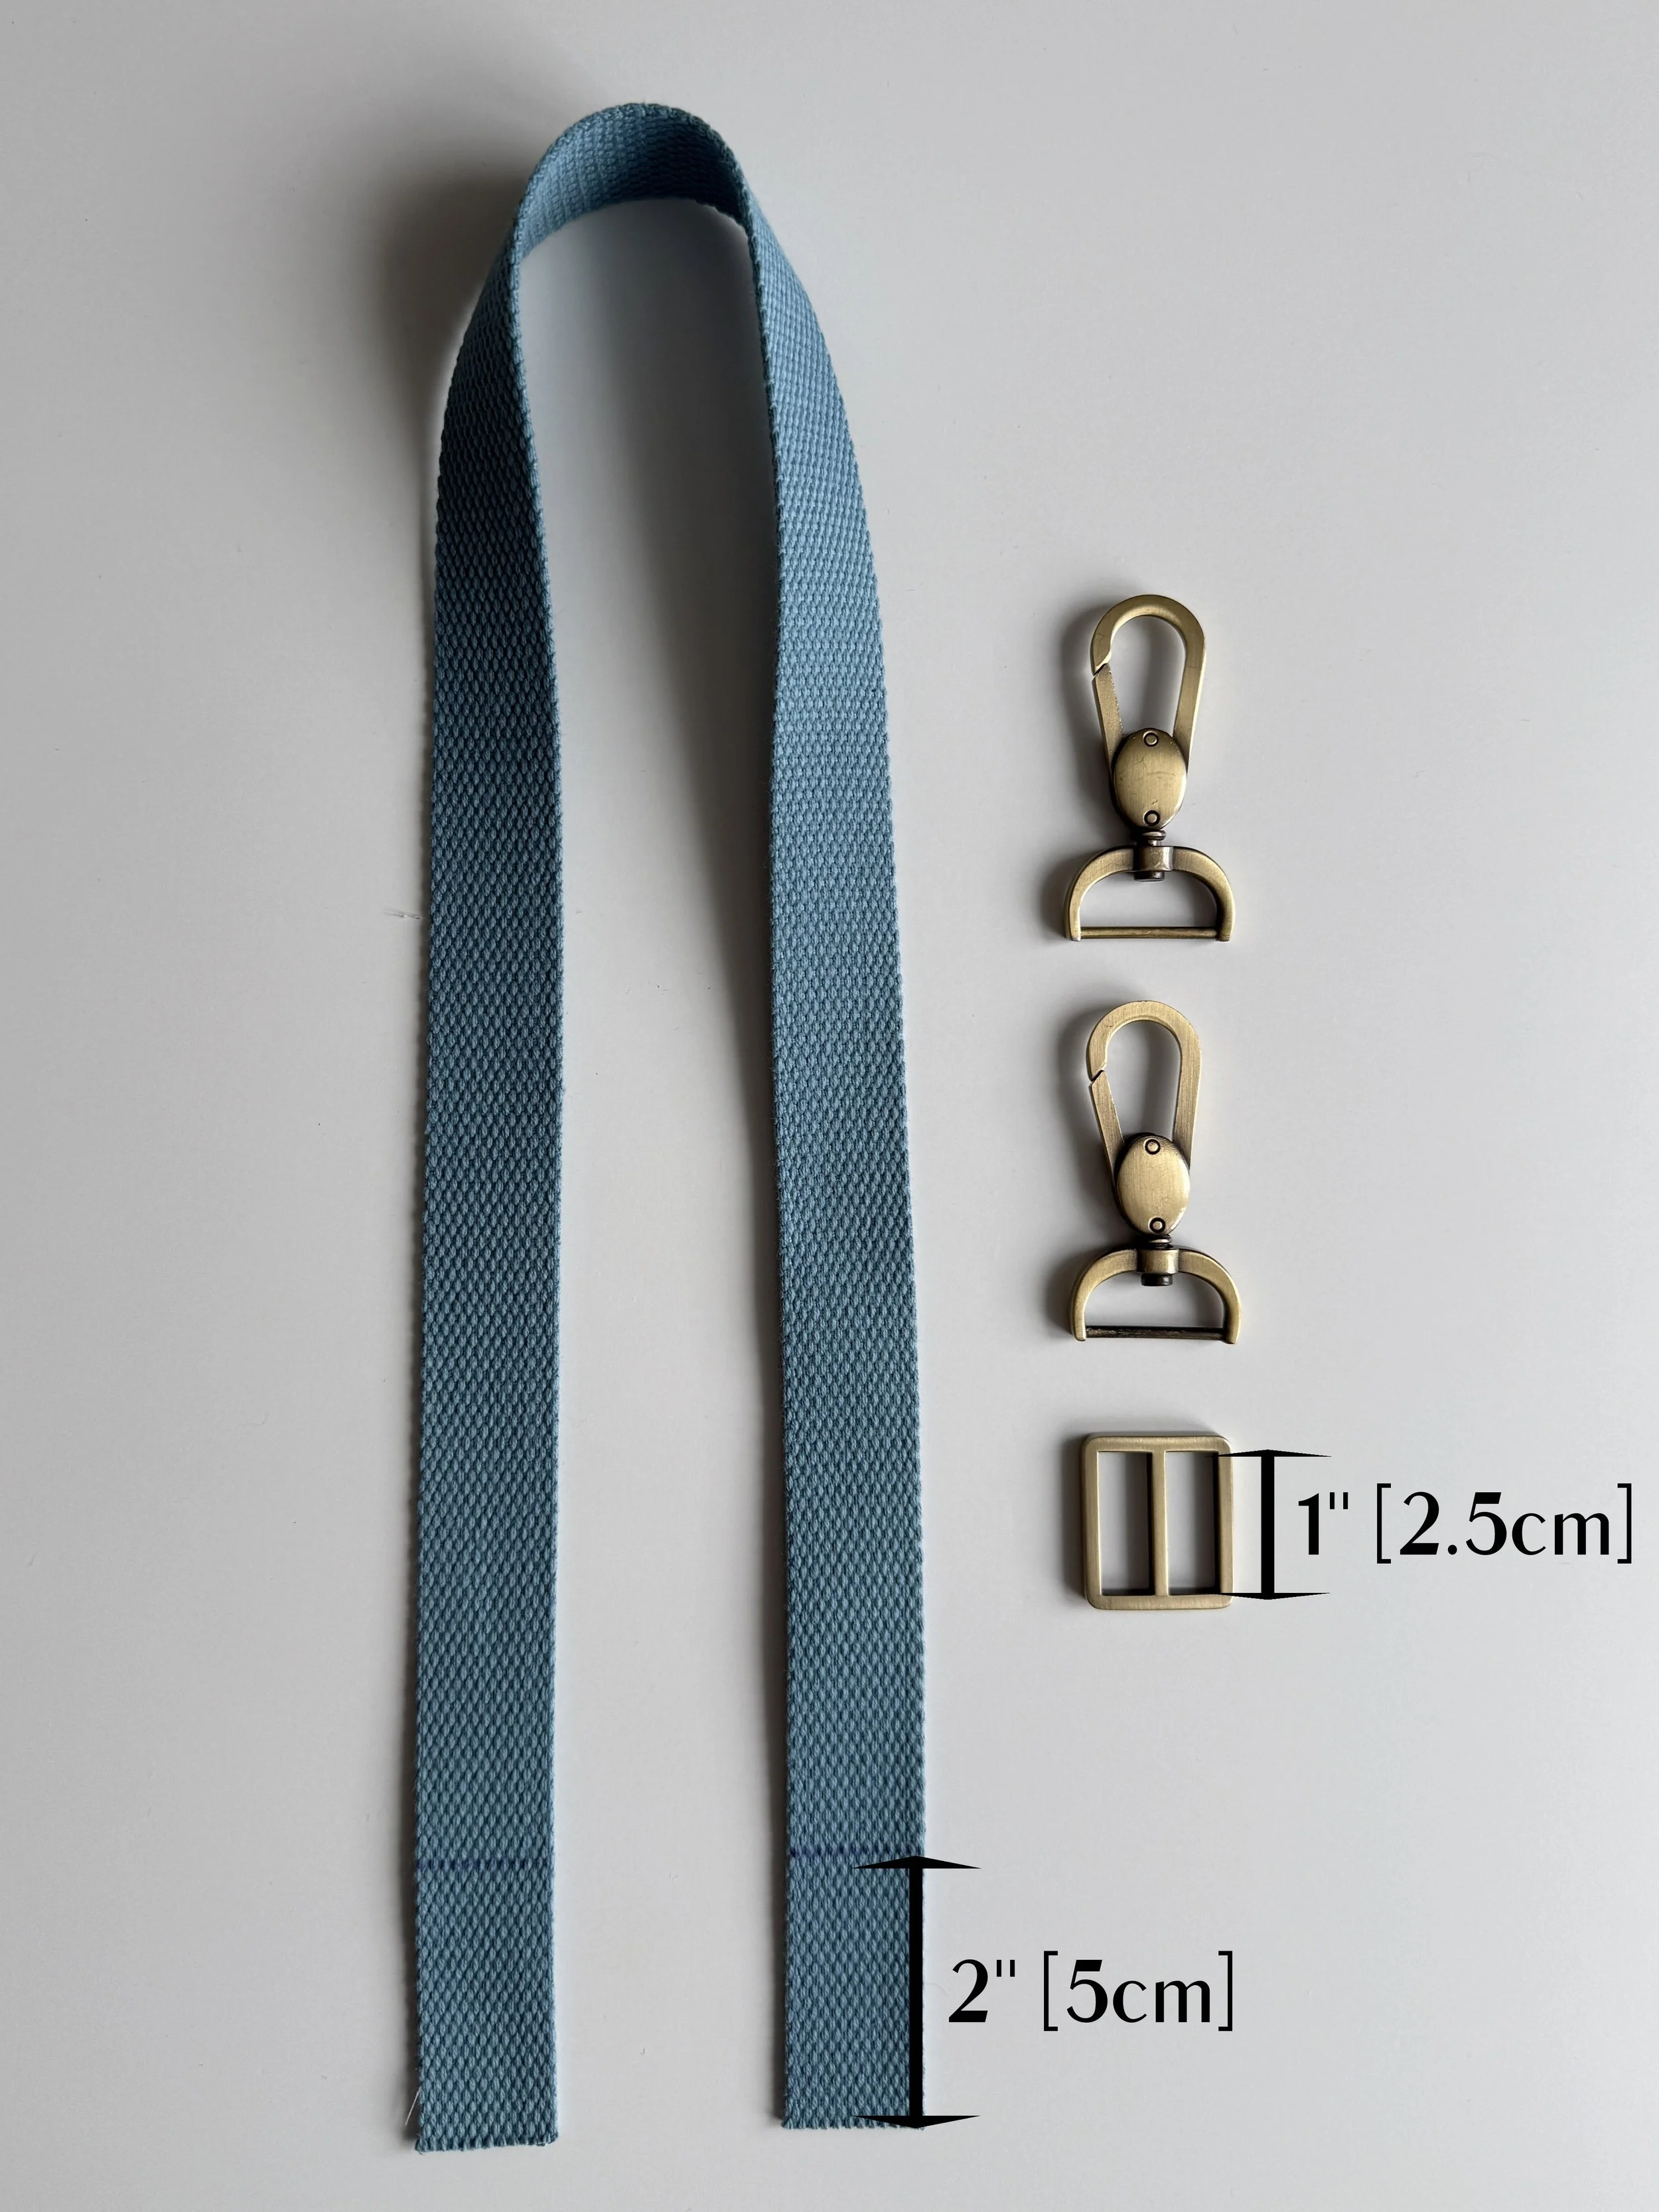
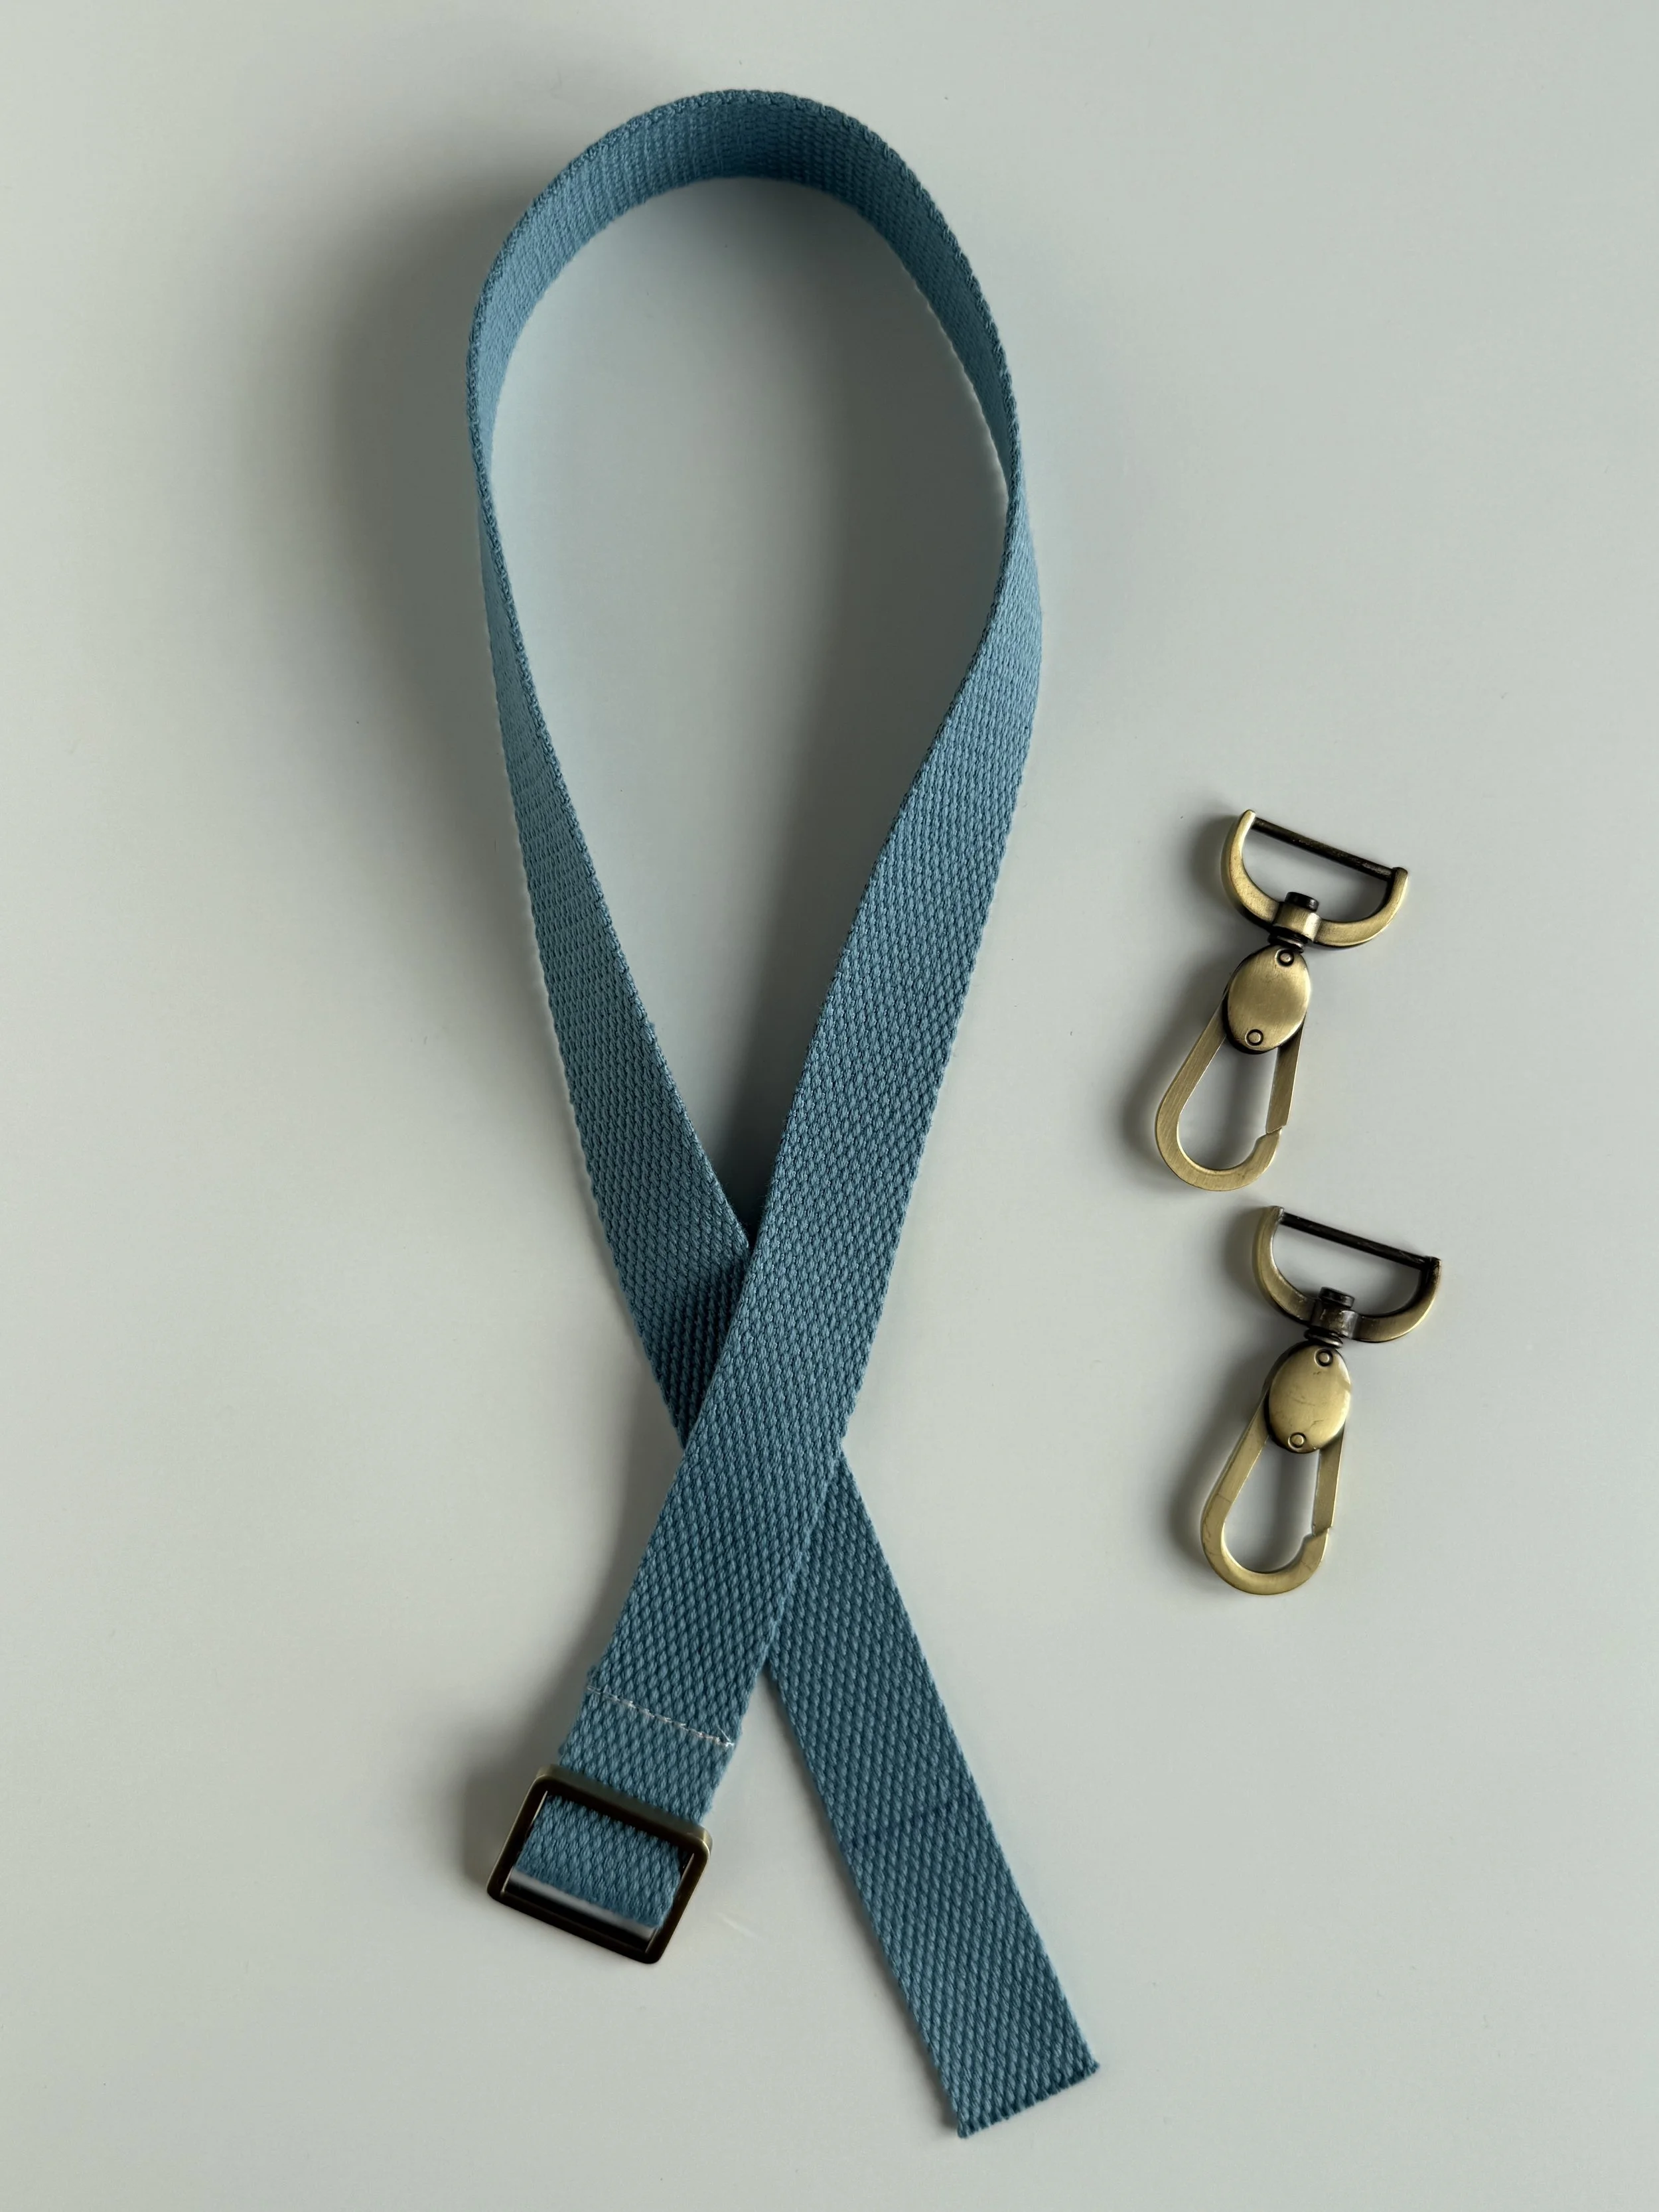
To make one removable, adjustable strap, you will need:
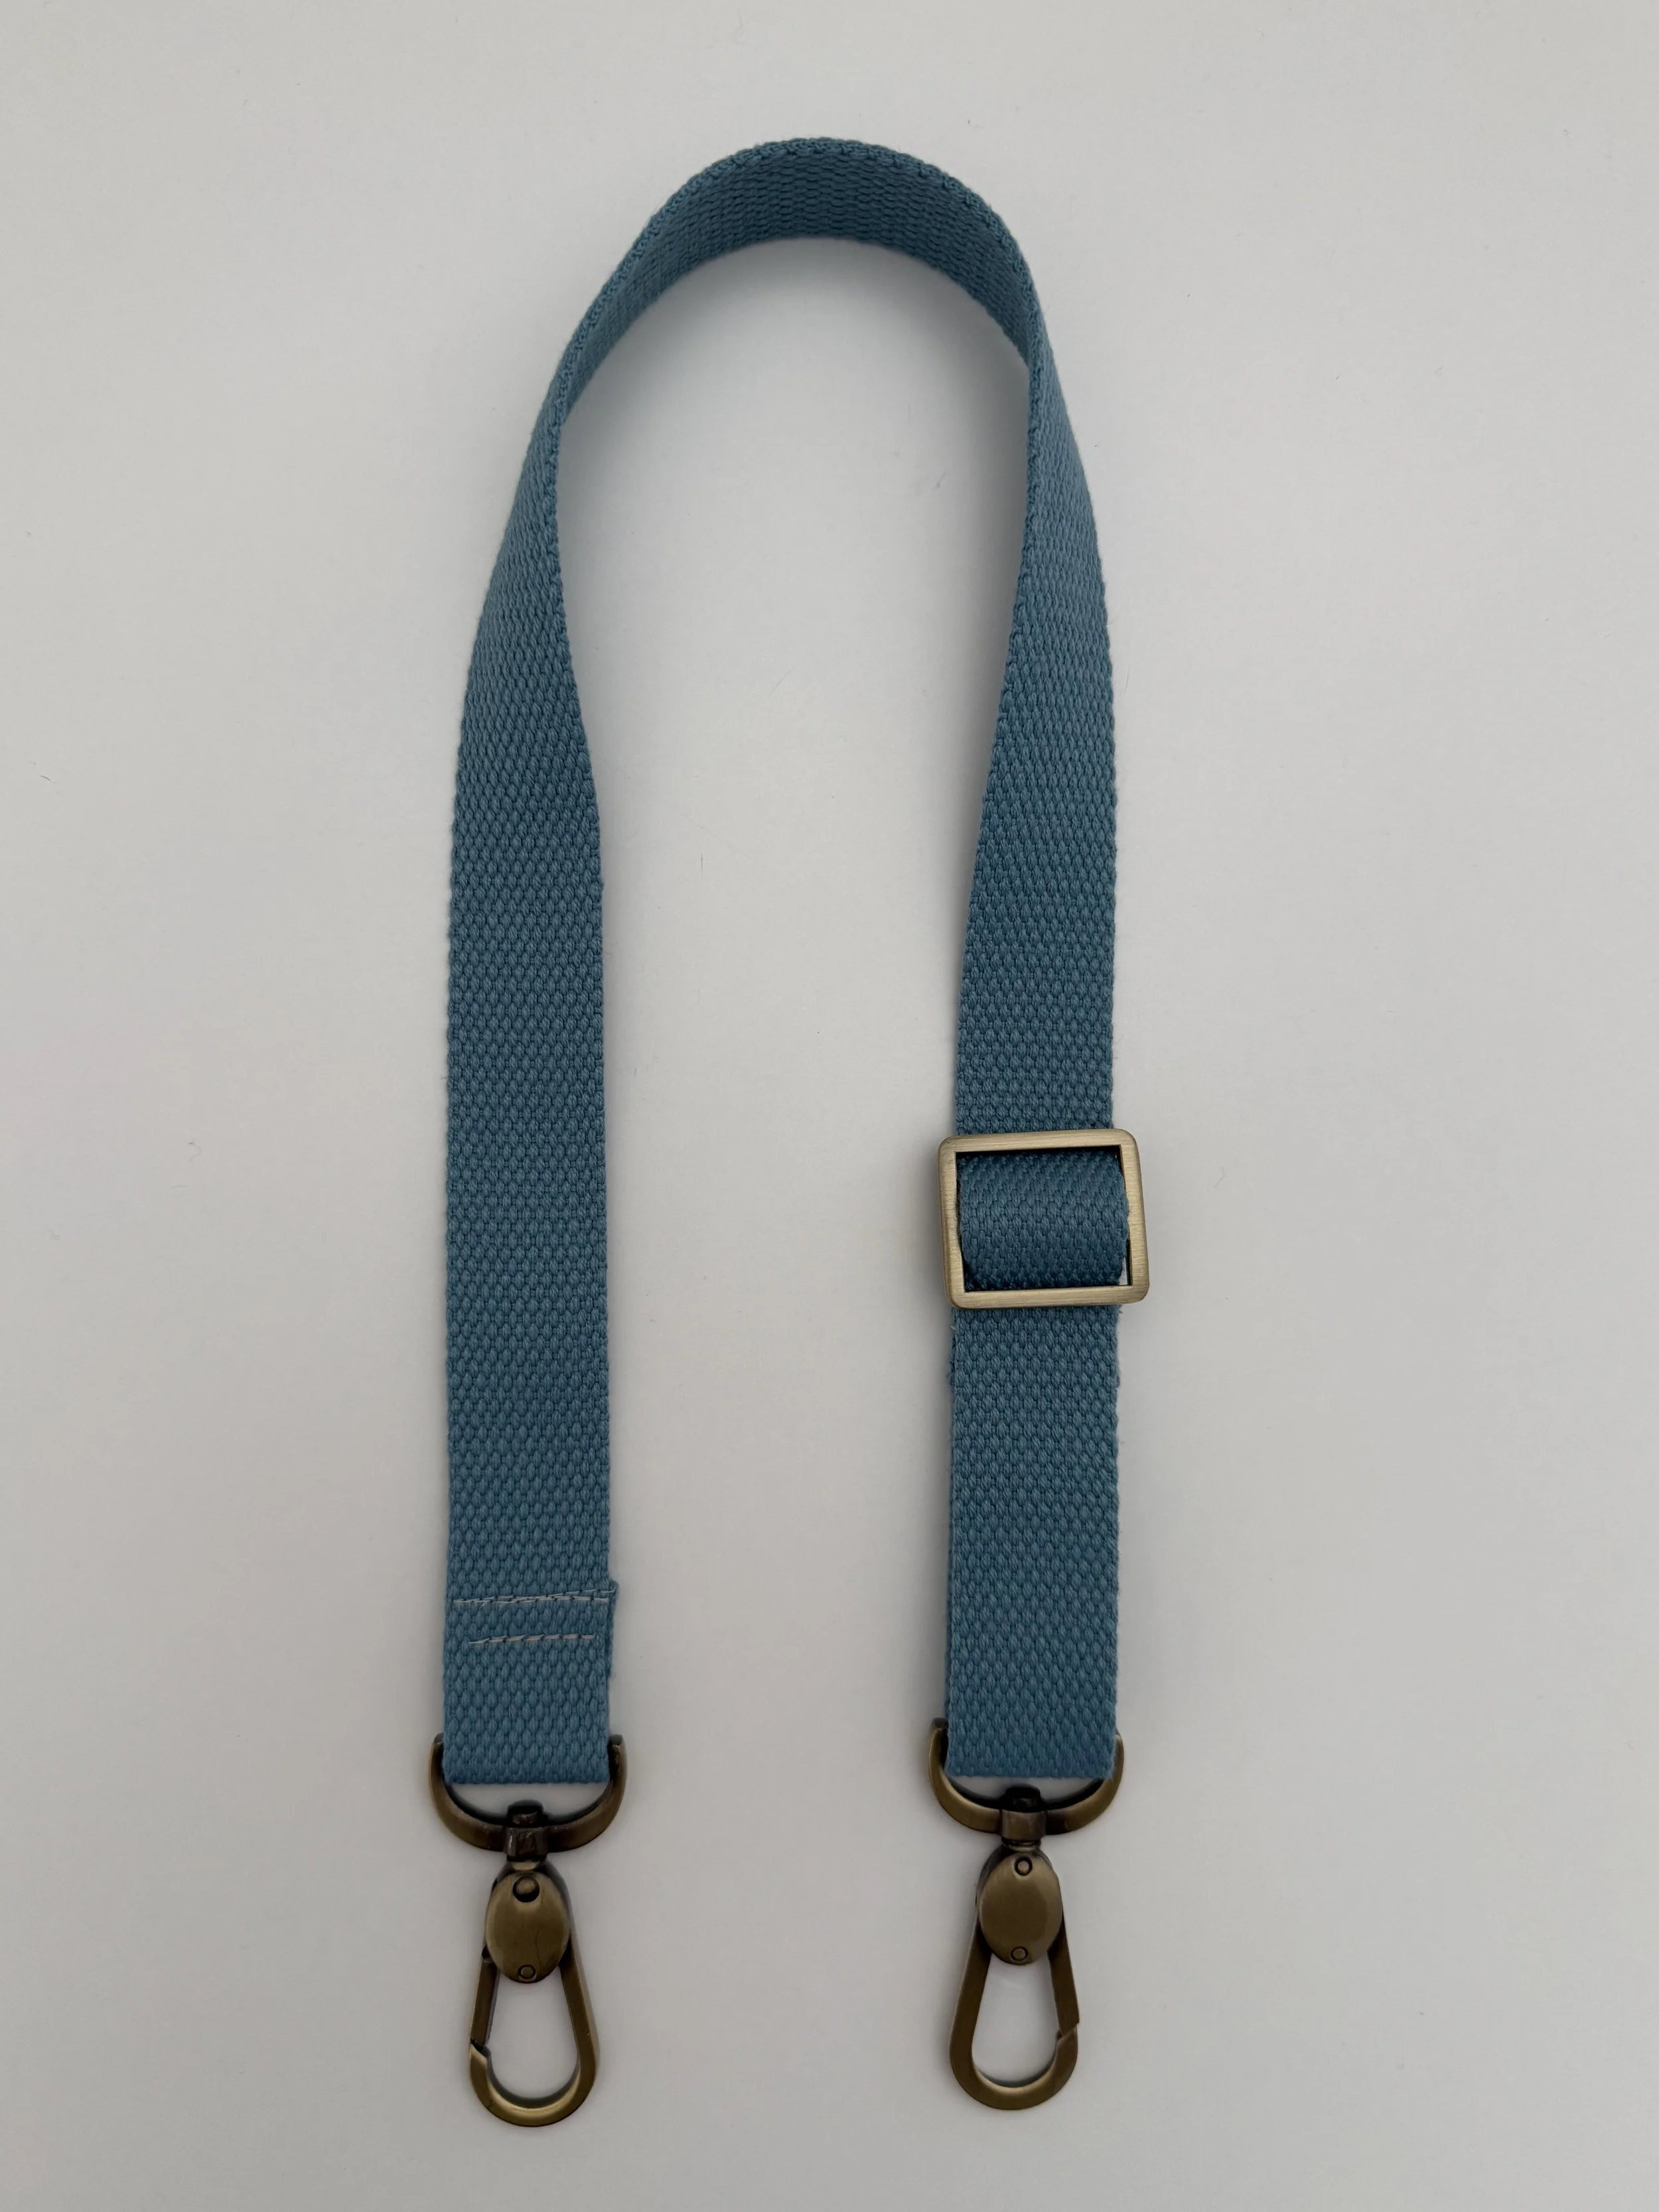
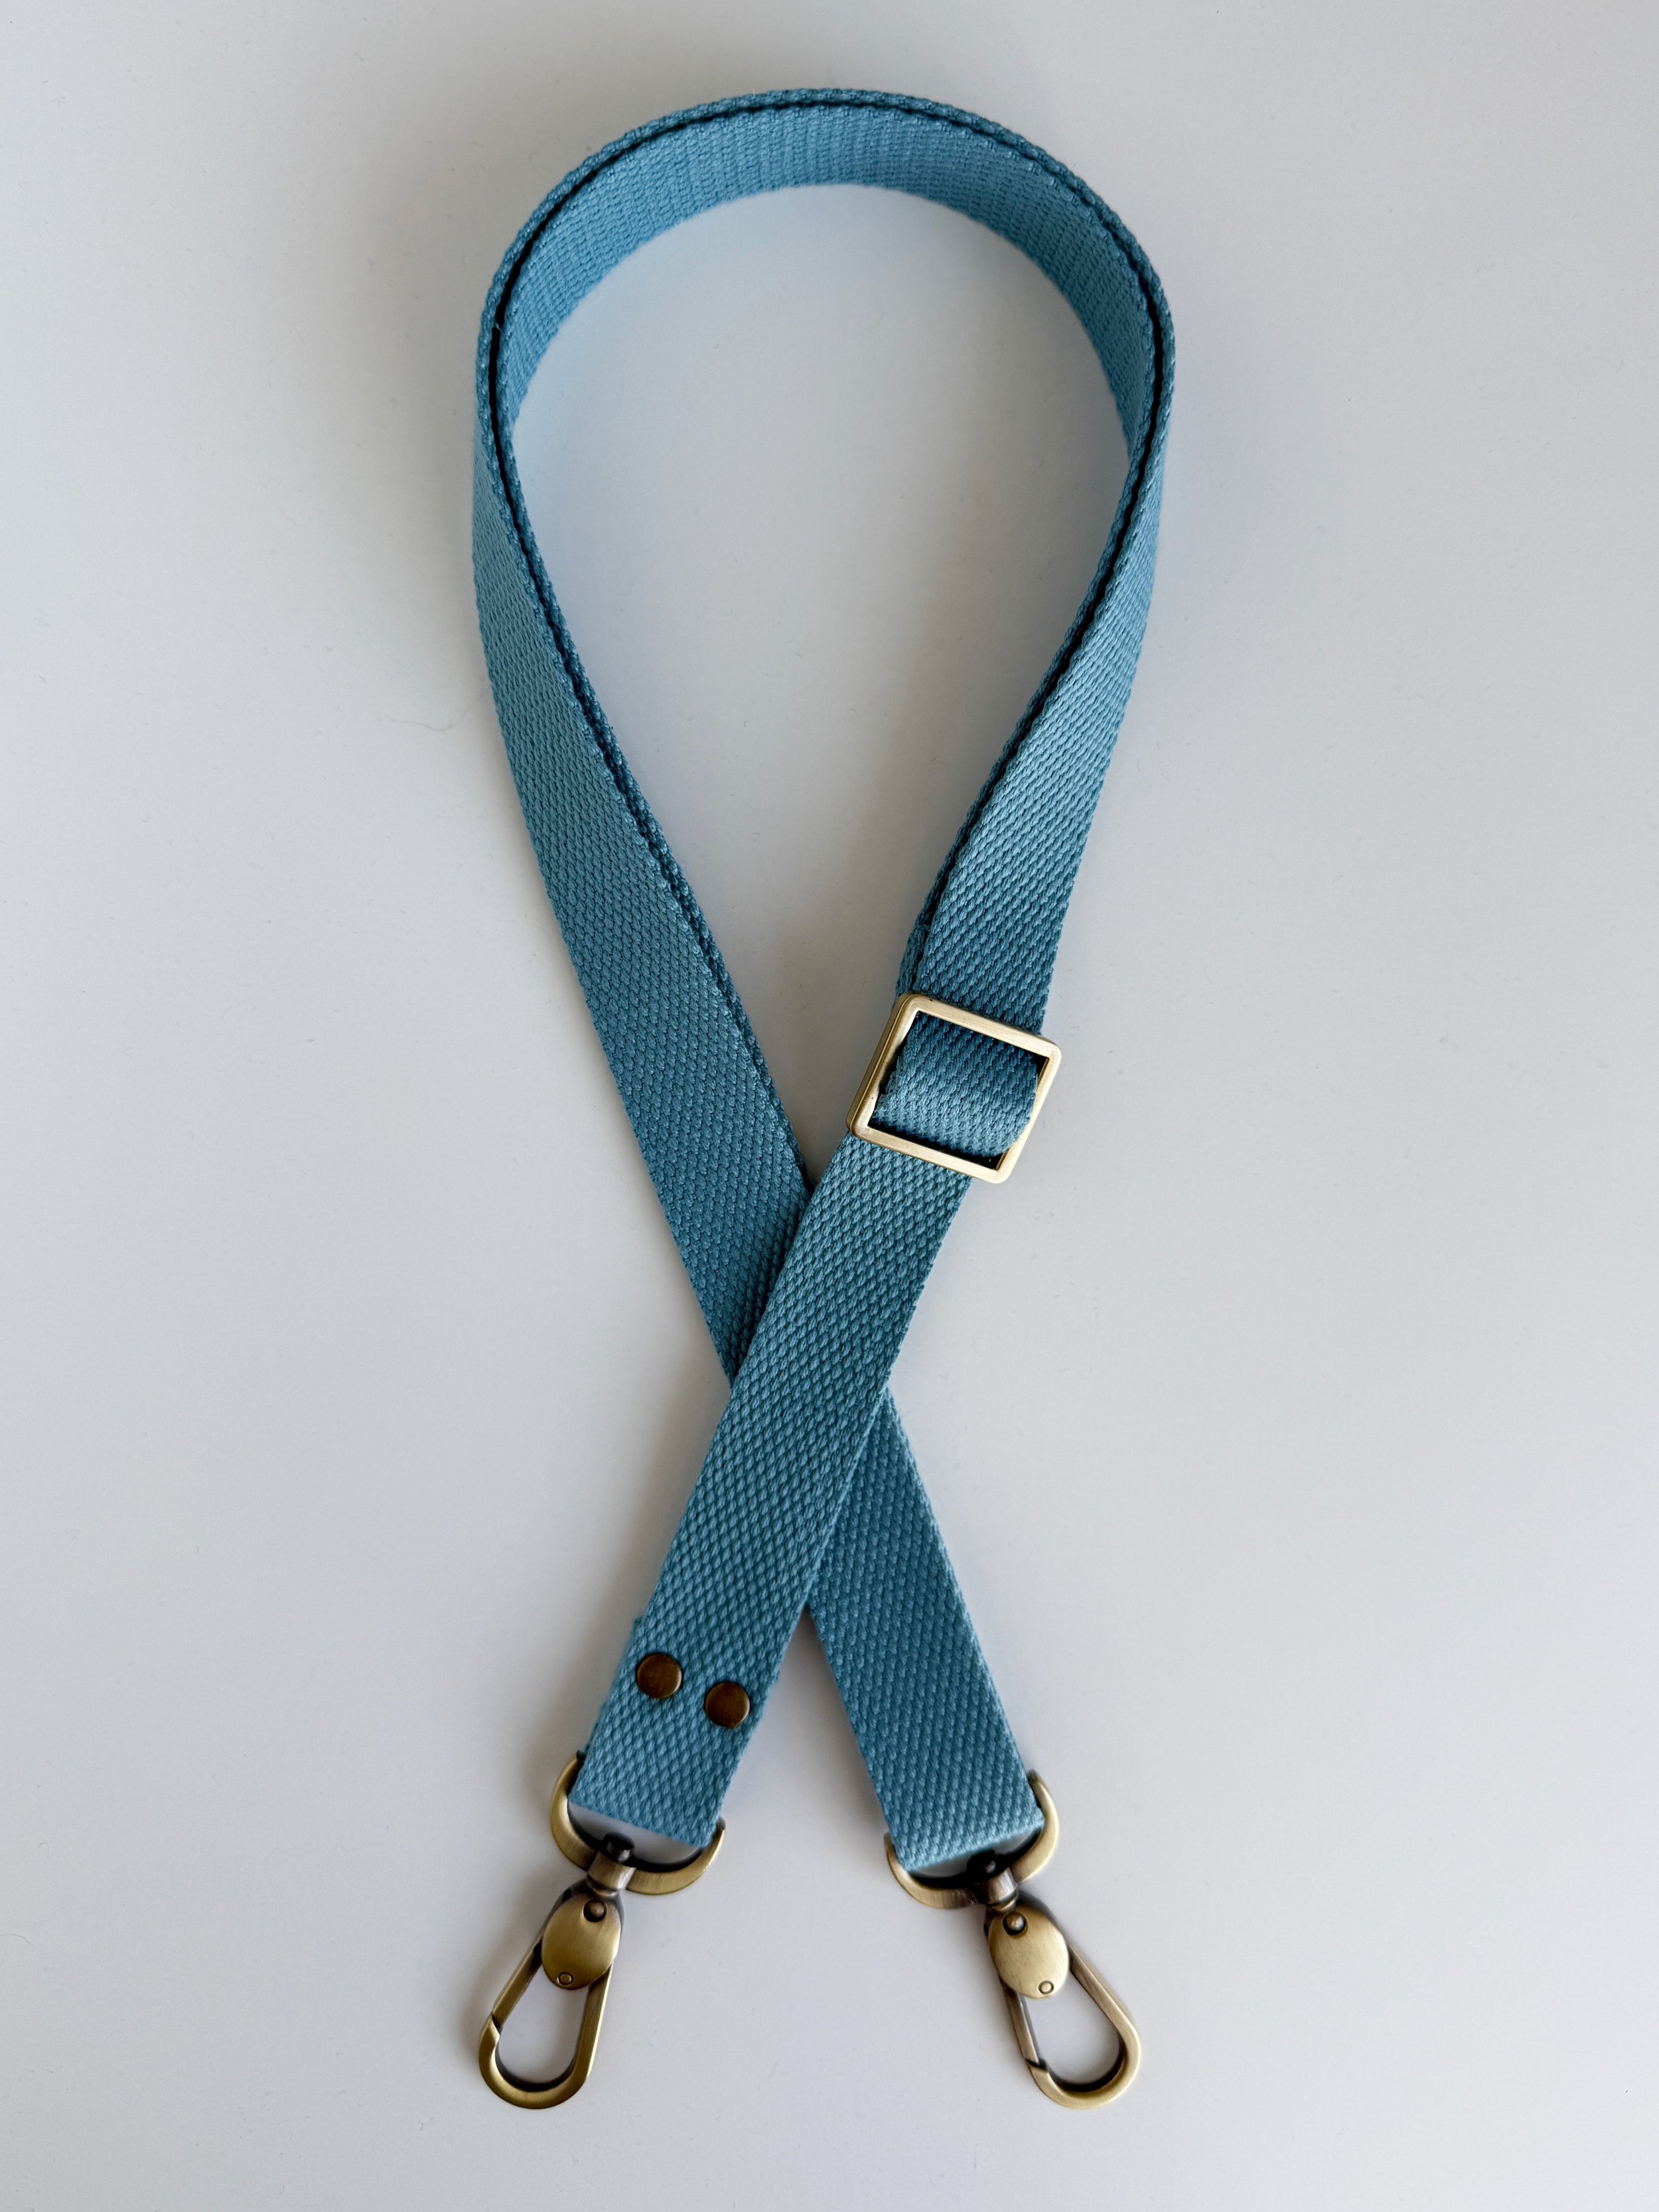
55’’ [140cm] long strip of 1’’ [2.5cm] wide Webbing
(2) - 1’’ [2.5cm] wide Swivel Snap Hooks
(1) - 1’’ [2.5cm] wide Strap Slider (sometimes called Tri-Glider)
In this tutorial, I cut my webbing quite short to easily fit the whole strap into the photo frame. When making your strap, you will be working with a longer strip of webbing.
1. Use a disappearing fabric pen or chalk to draw a line 2'' [5cm] from both short ends of the Strap.
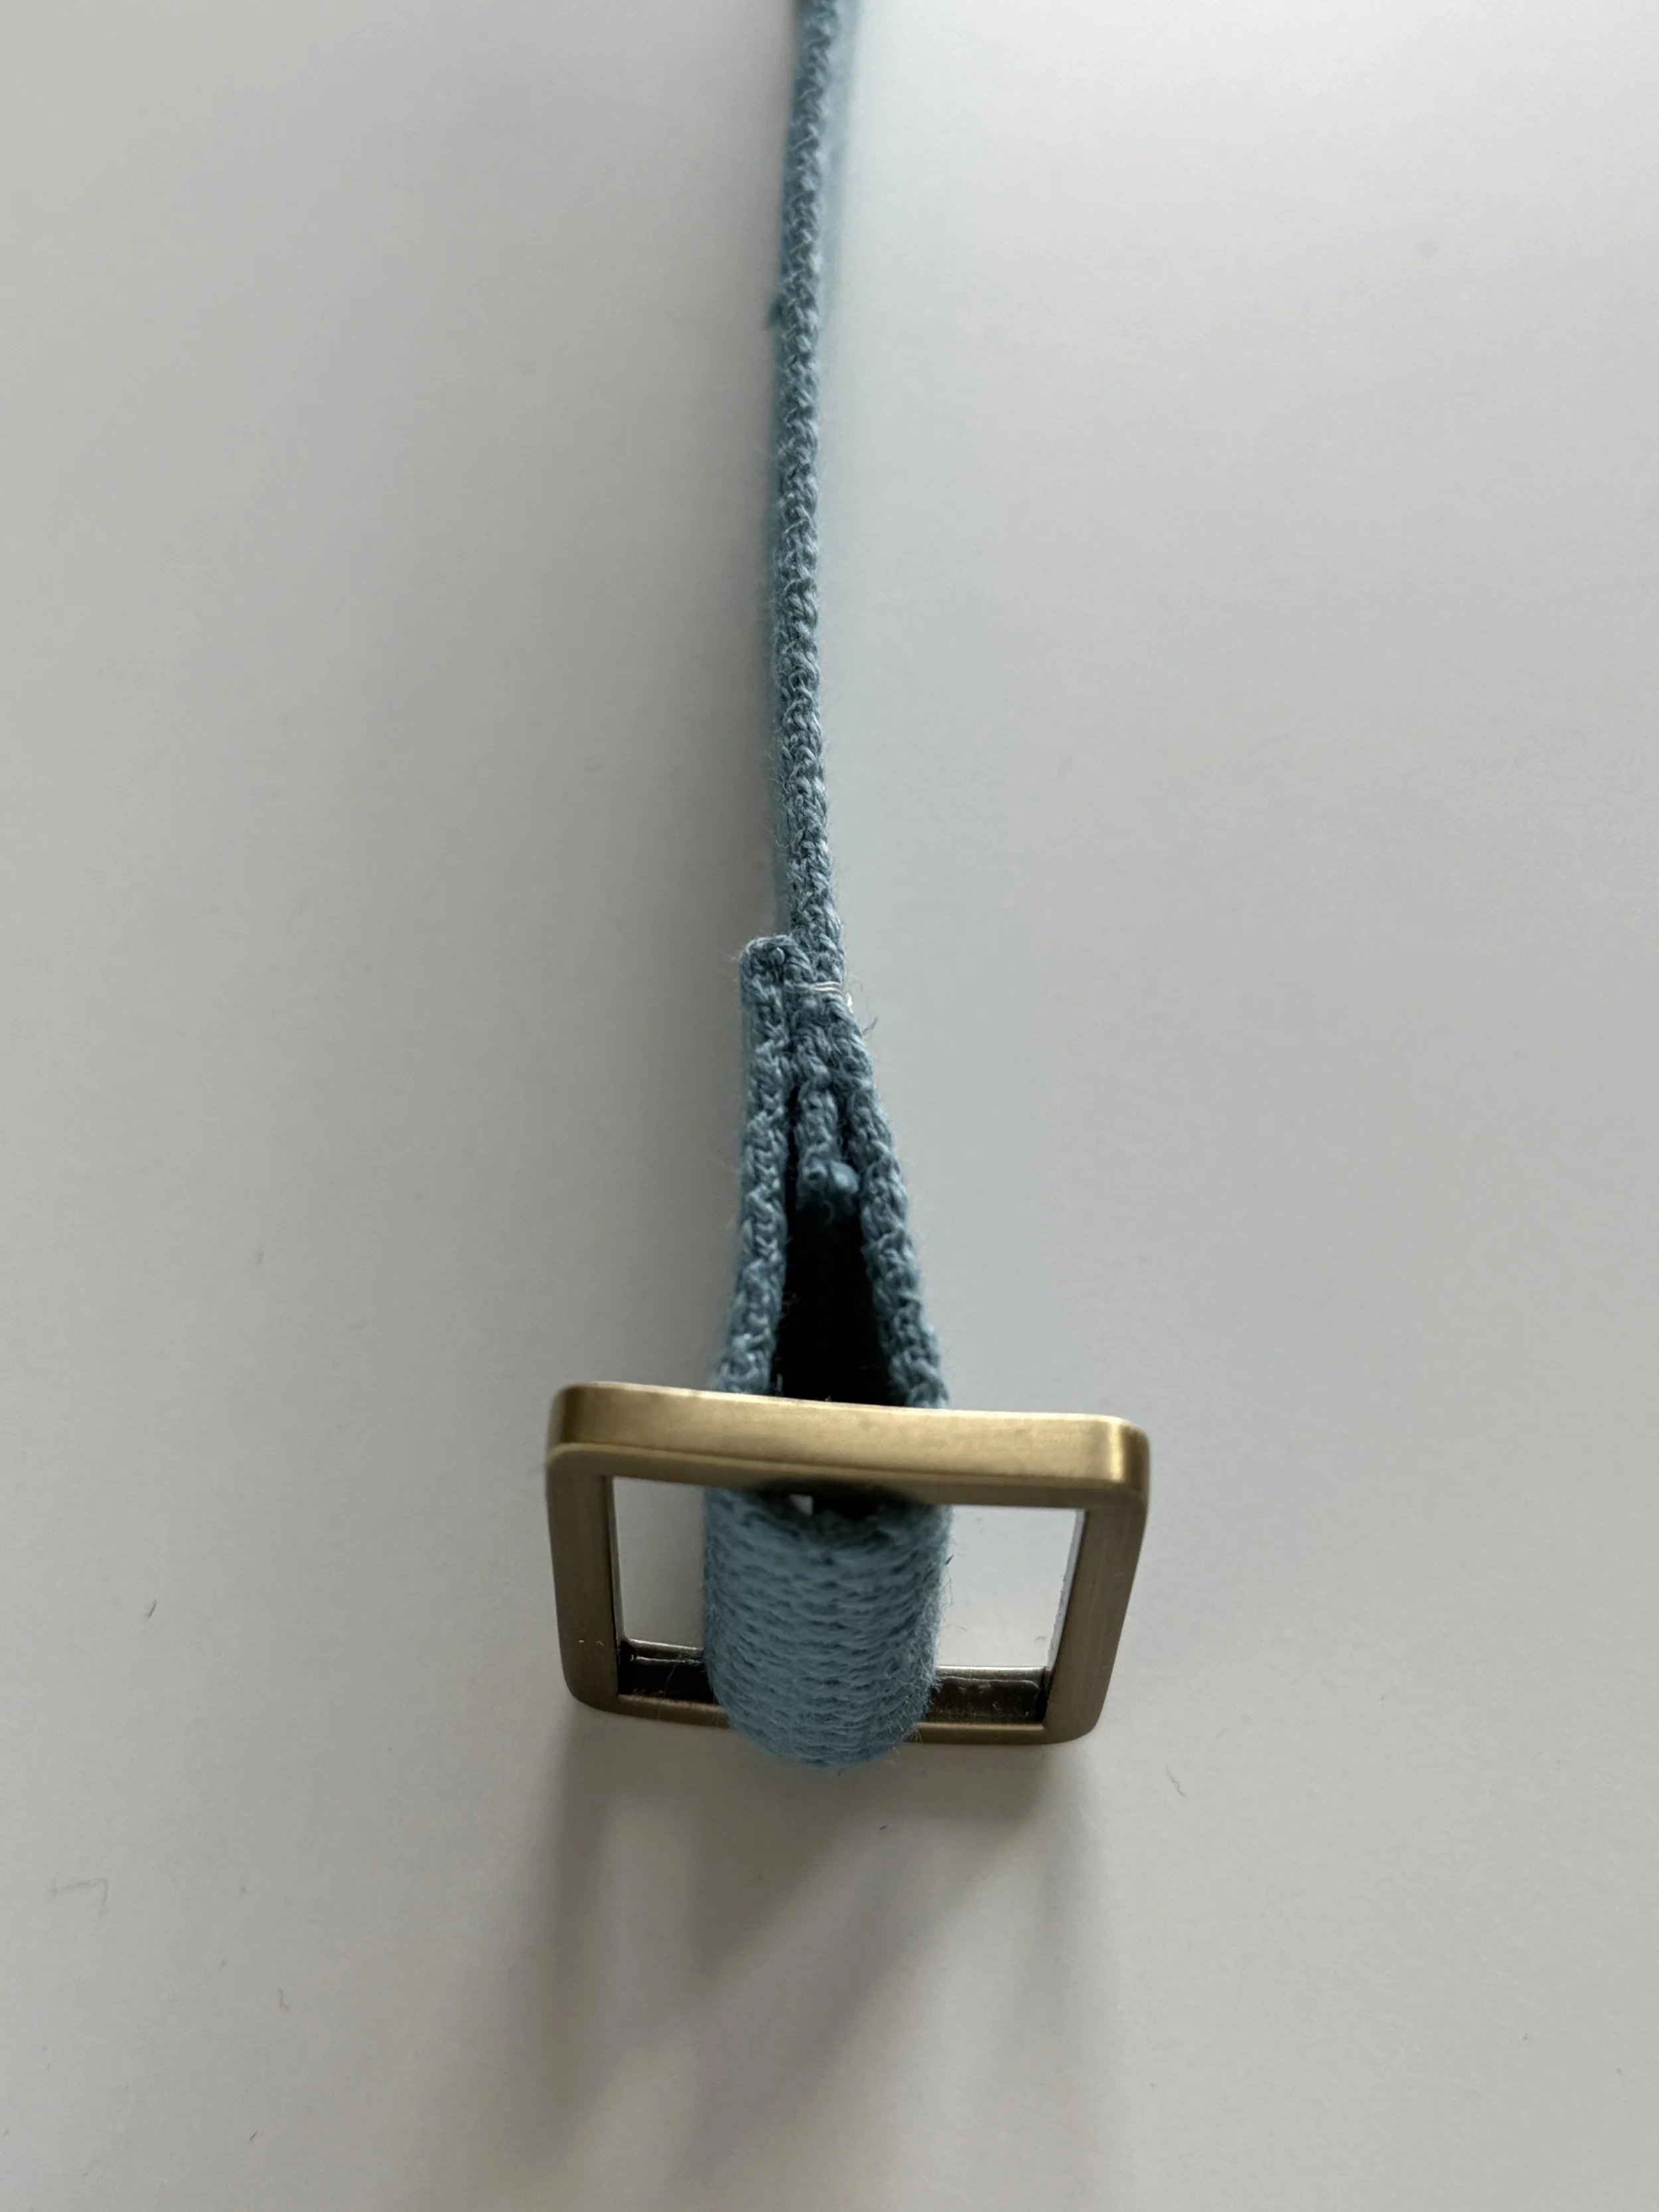
2. Thread one of the strap's raw ends over the middle bar of the Strap Slider, align the middle bar with a 2'' [5 cm] line. Fold over. Fold the short raw end 1/2'' [1.5cm] towards the inner side of the Strap, align the side edges, and pin/clip in place. Topstitch along the folded edge through all the layers using 1/8'' [0.3cm], sewing over the same line of stitching two or three times to reinforce the seam. Do another set of stitching 1/4'' [0.6cm] from the previous one.
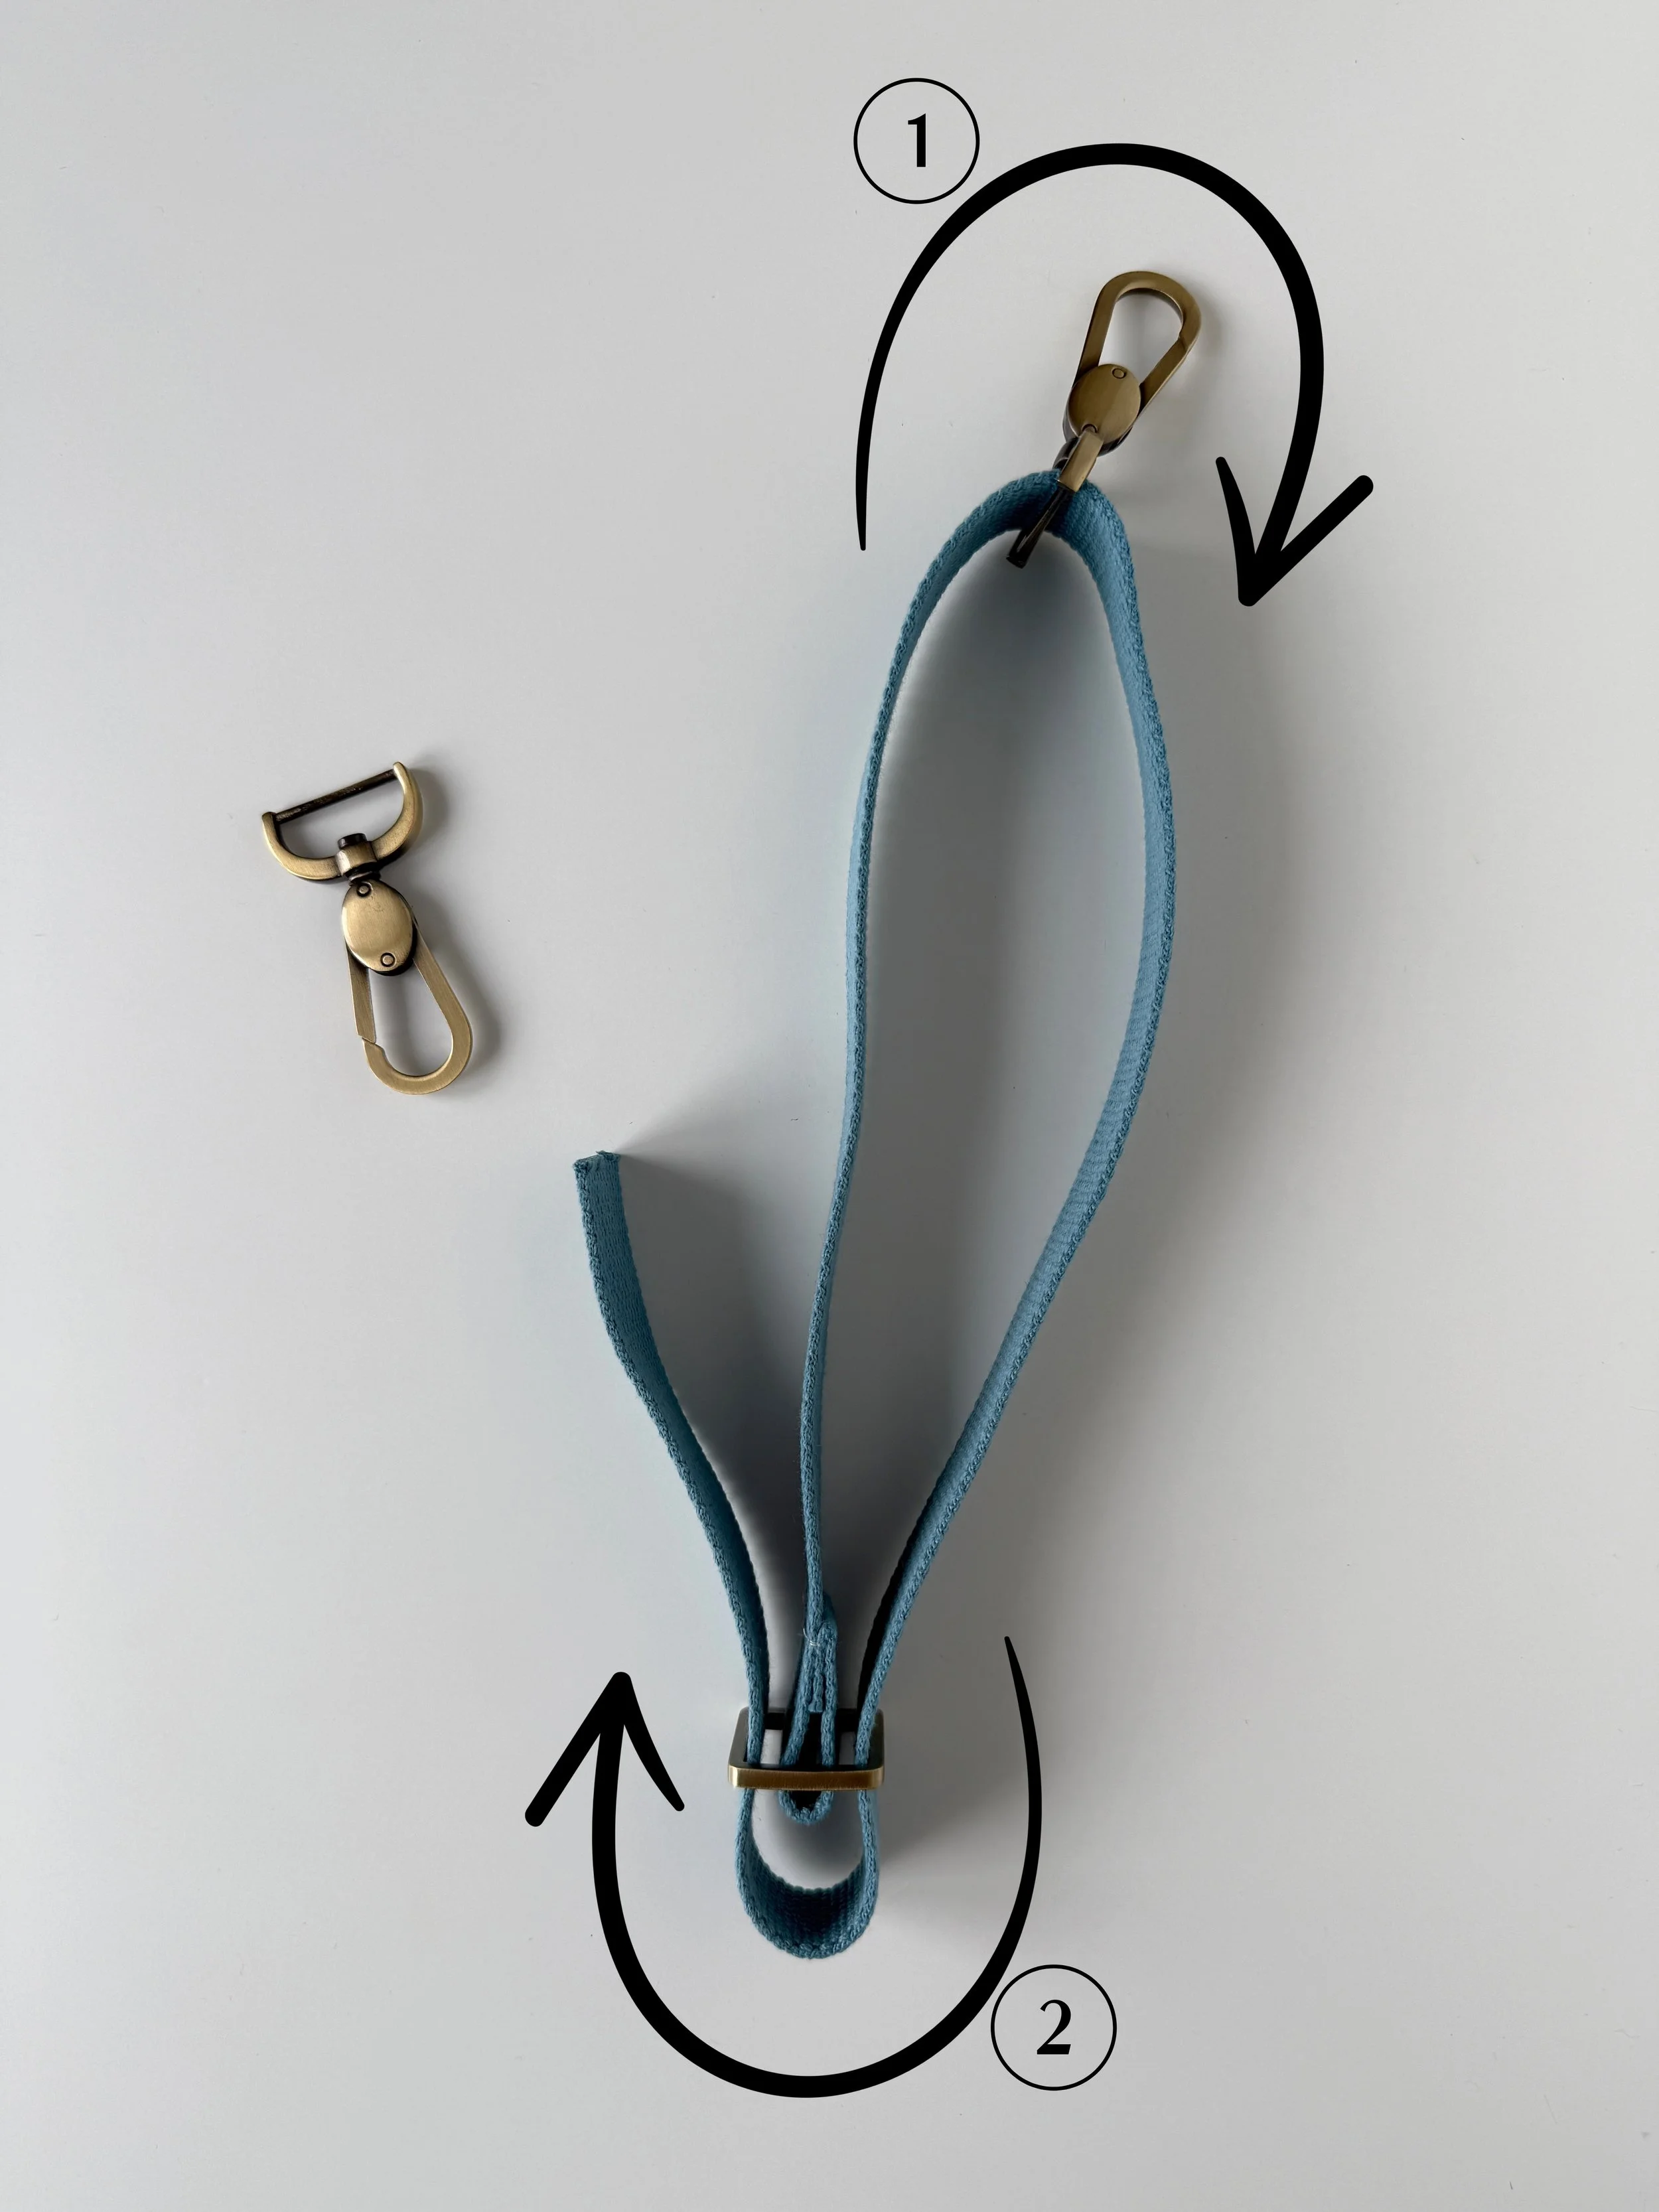
3. Thread the Strap's second raw end through one Swivel Hook (1). Thread the same end through the Strap Slider (above the attached short end) (2).
4. Thread the same loose end through the second Swivel Hook, and align its top bar with a 2'' [5cm] line. Fold the short end 1/2'' [1.5cm] under, align side edges, and pin/clip in place. Topstitch along the folded edge using 1/8'' [0.3cm] and 1/4'' [0.6cm] SA, the same way as you did in Step 1 for the first short edge.
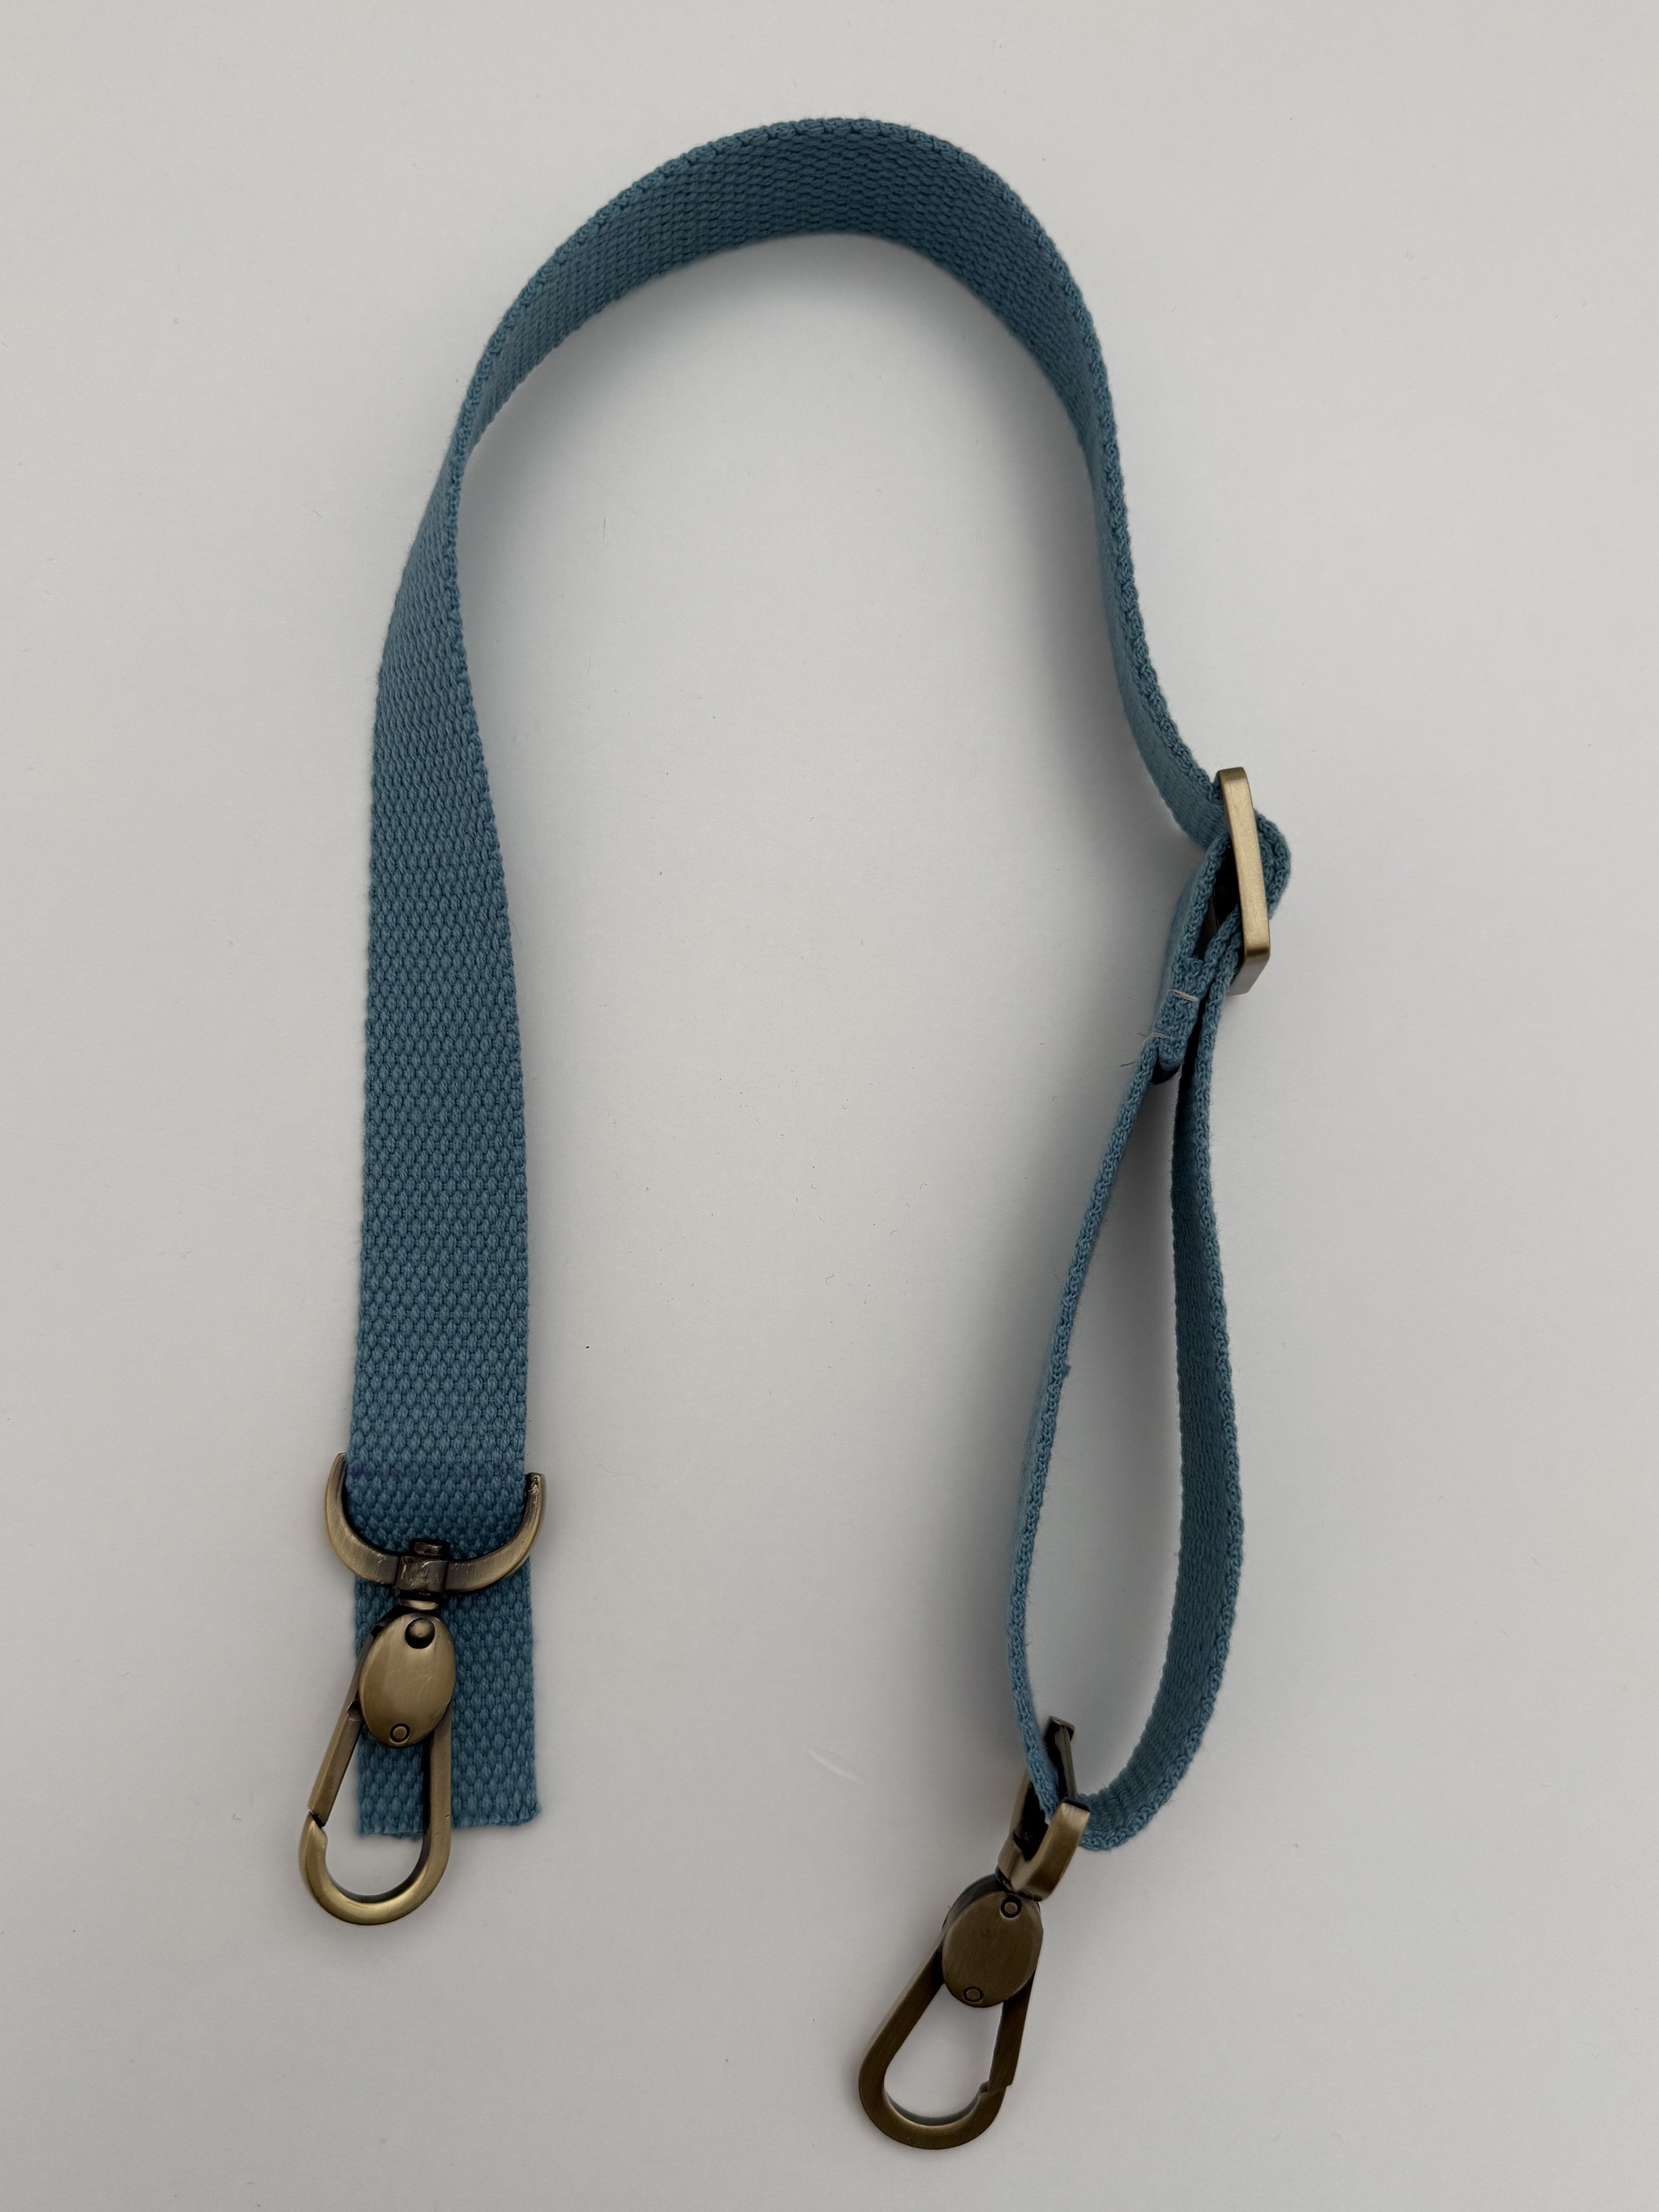
5. Adjust the length of the strap and add it to your bag.
Fun little project, isn’t it? I hope you enjoy creating your own adjustable bag straps.
Happy sewing, friends.
Svetlana