PATCHWORK CHRISTMAS STOCKING
Click HERE to get the free PRINTABLE TEMPLATE.
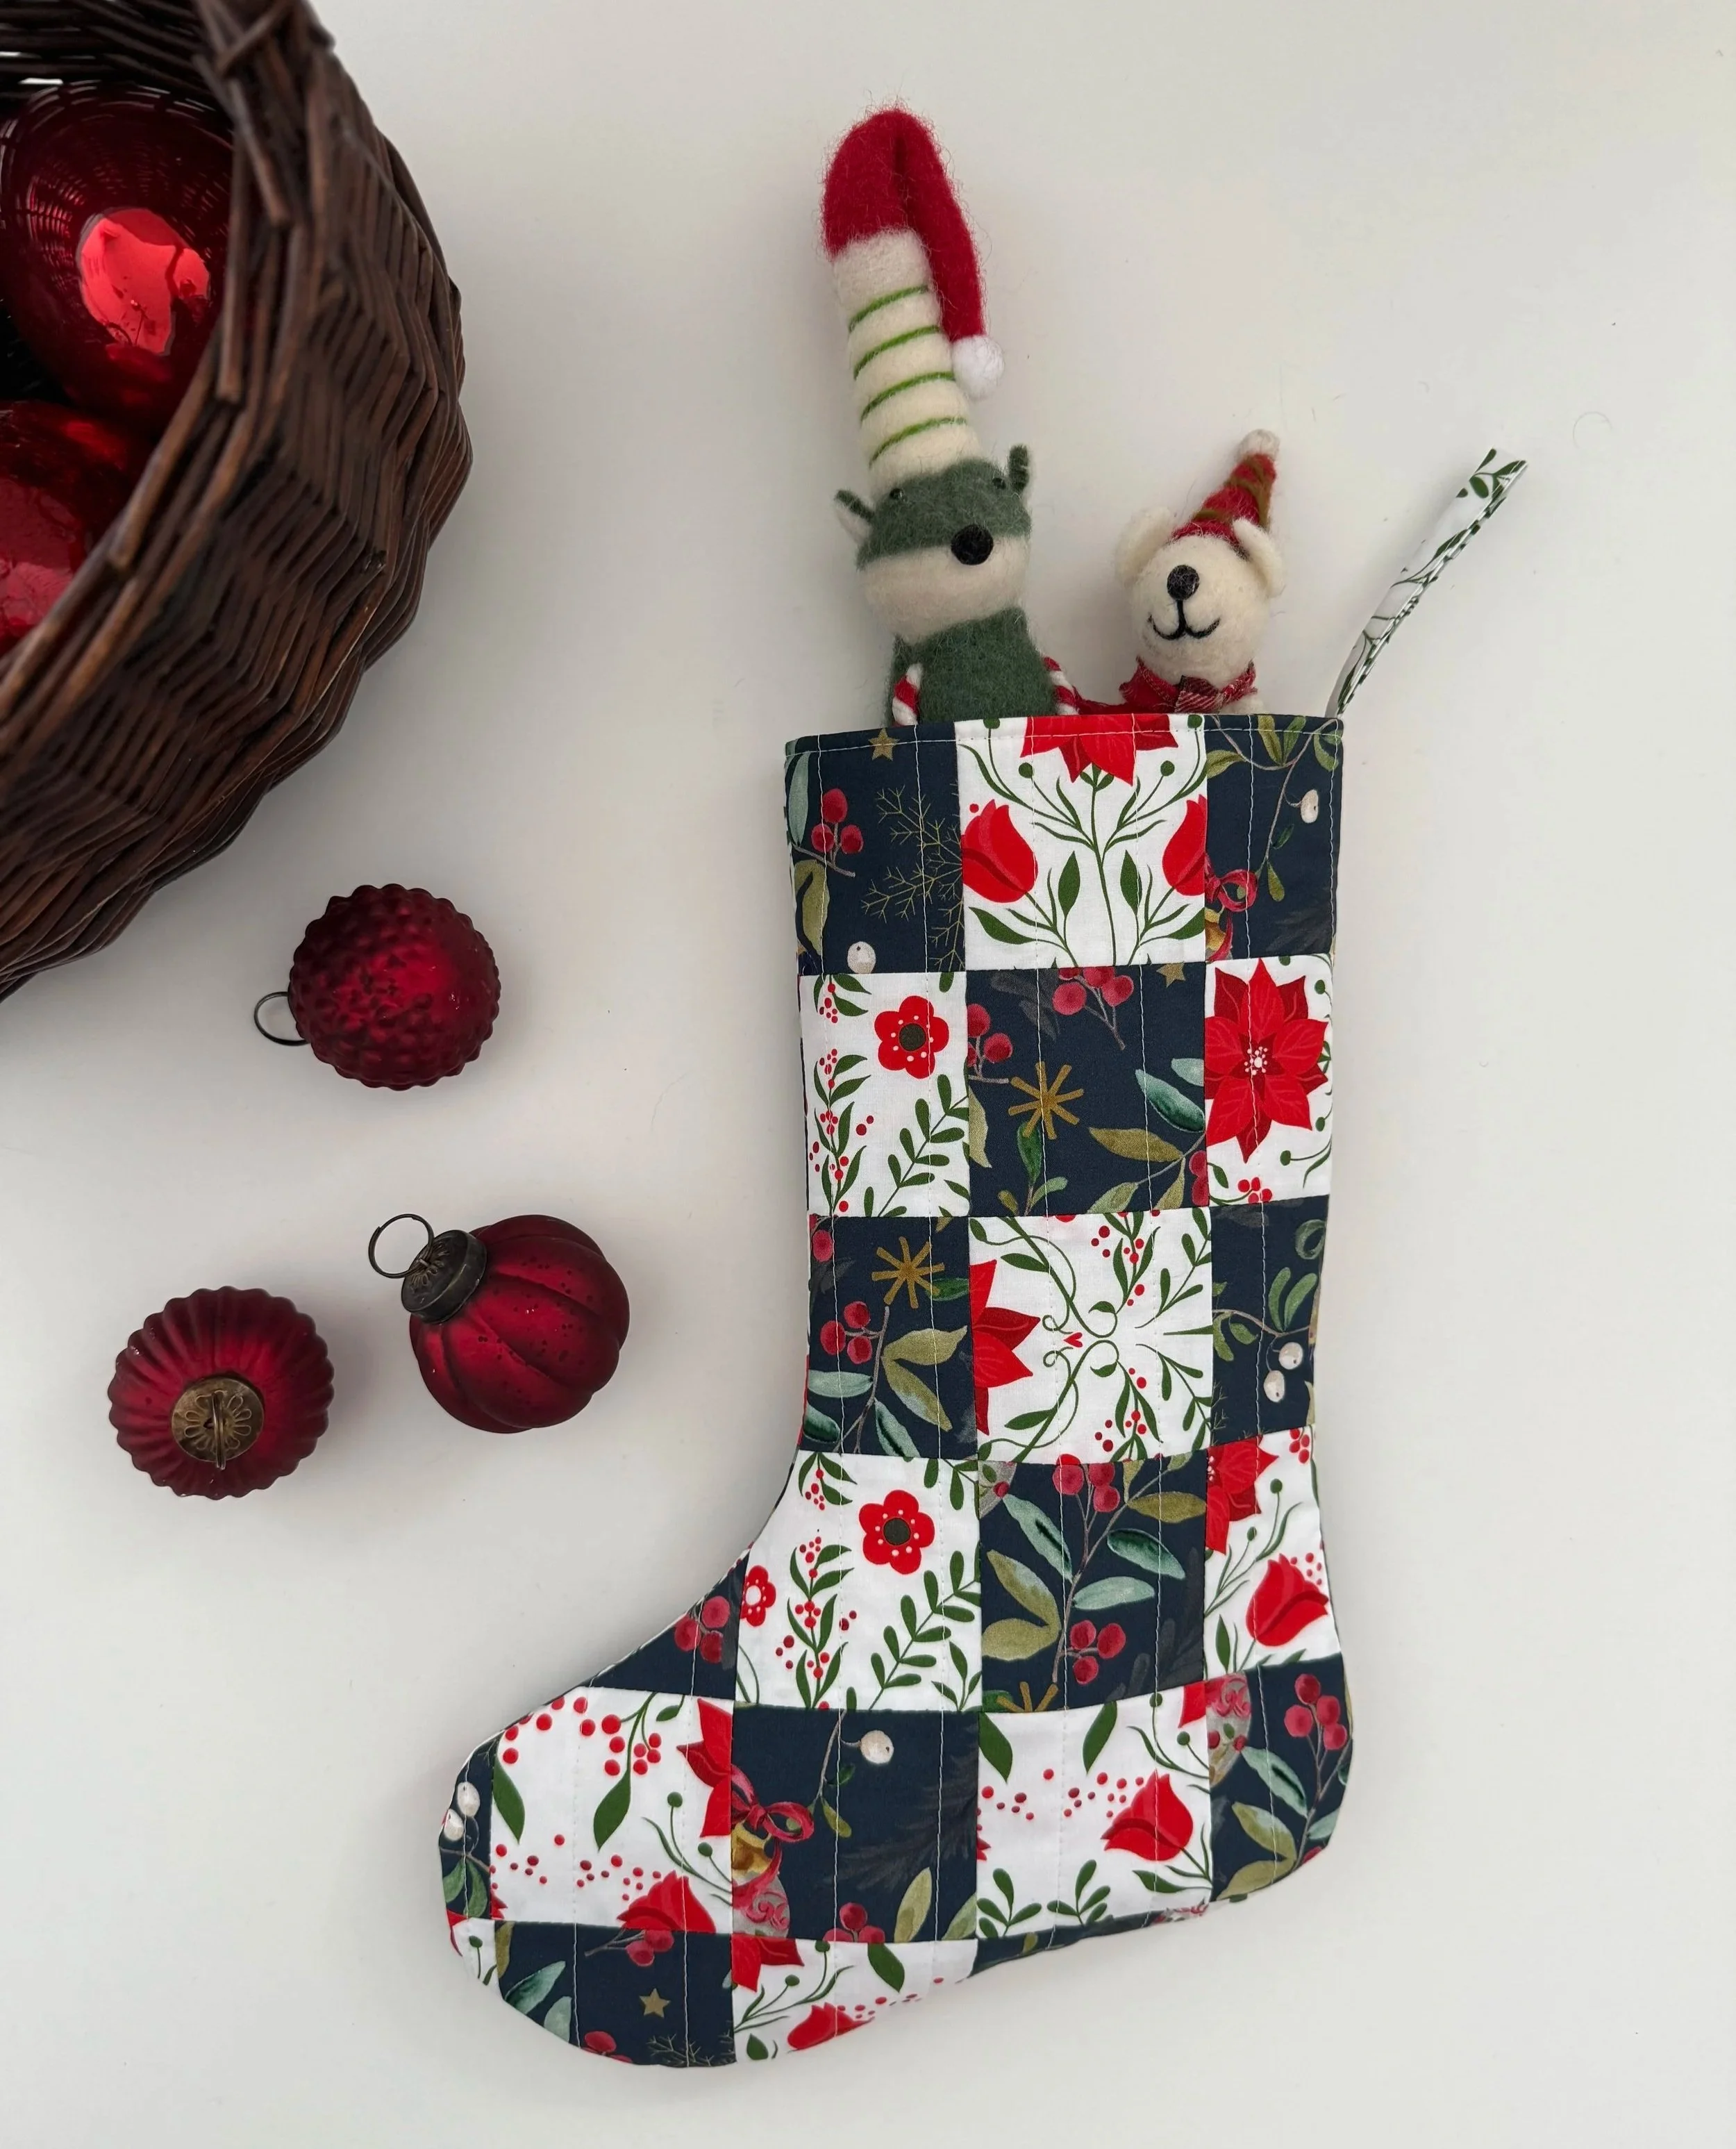
Hi friends, I’m excited to bring my newest video tutorial to you today. This one is for a patchwork Christmas Stocking.
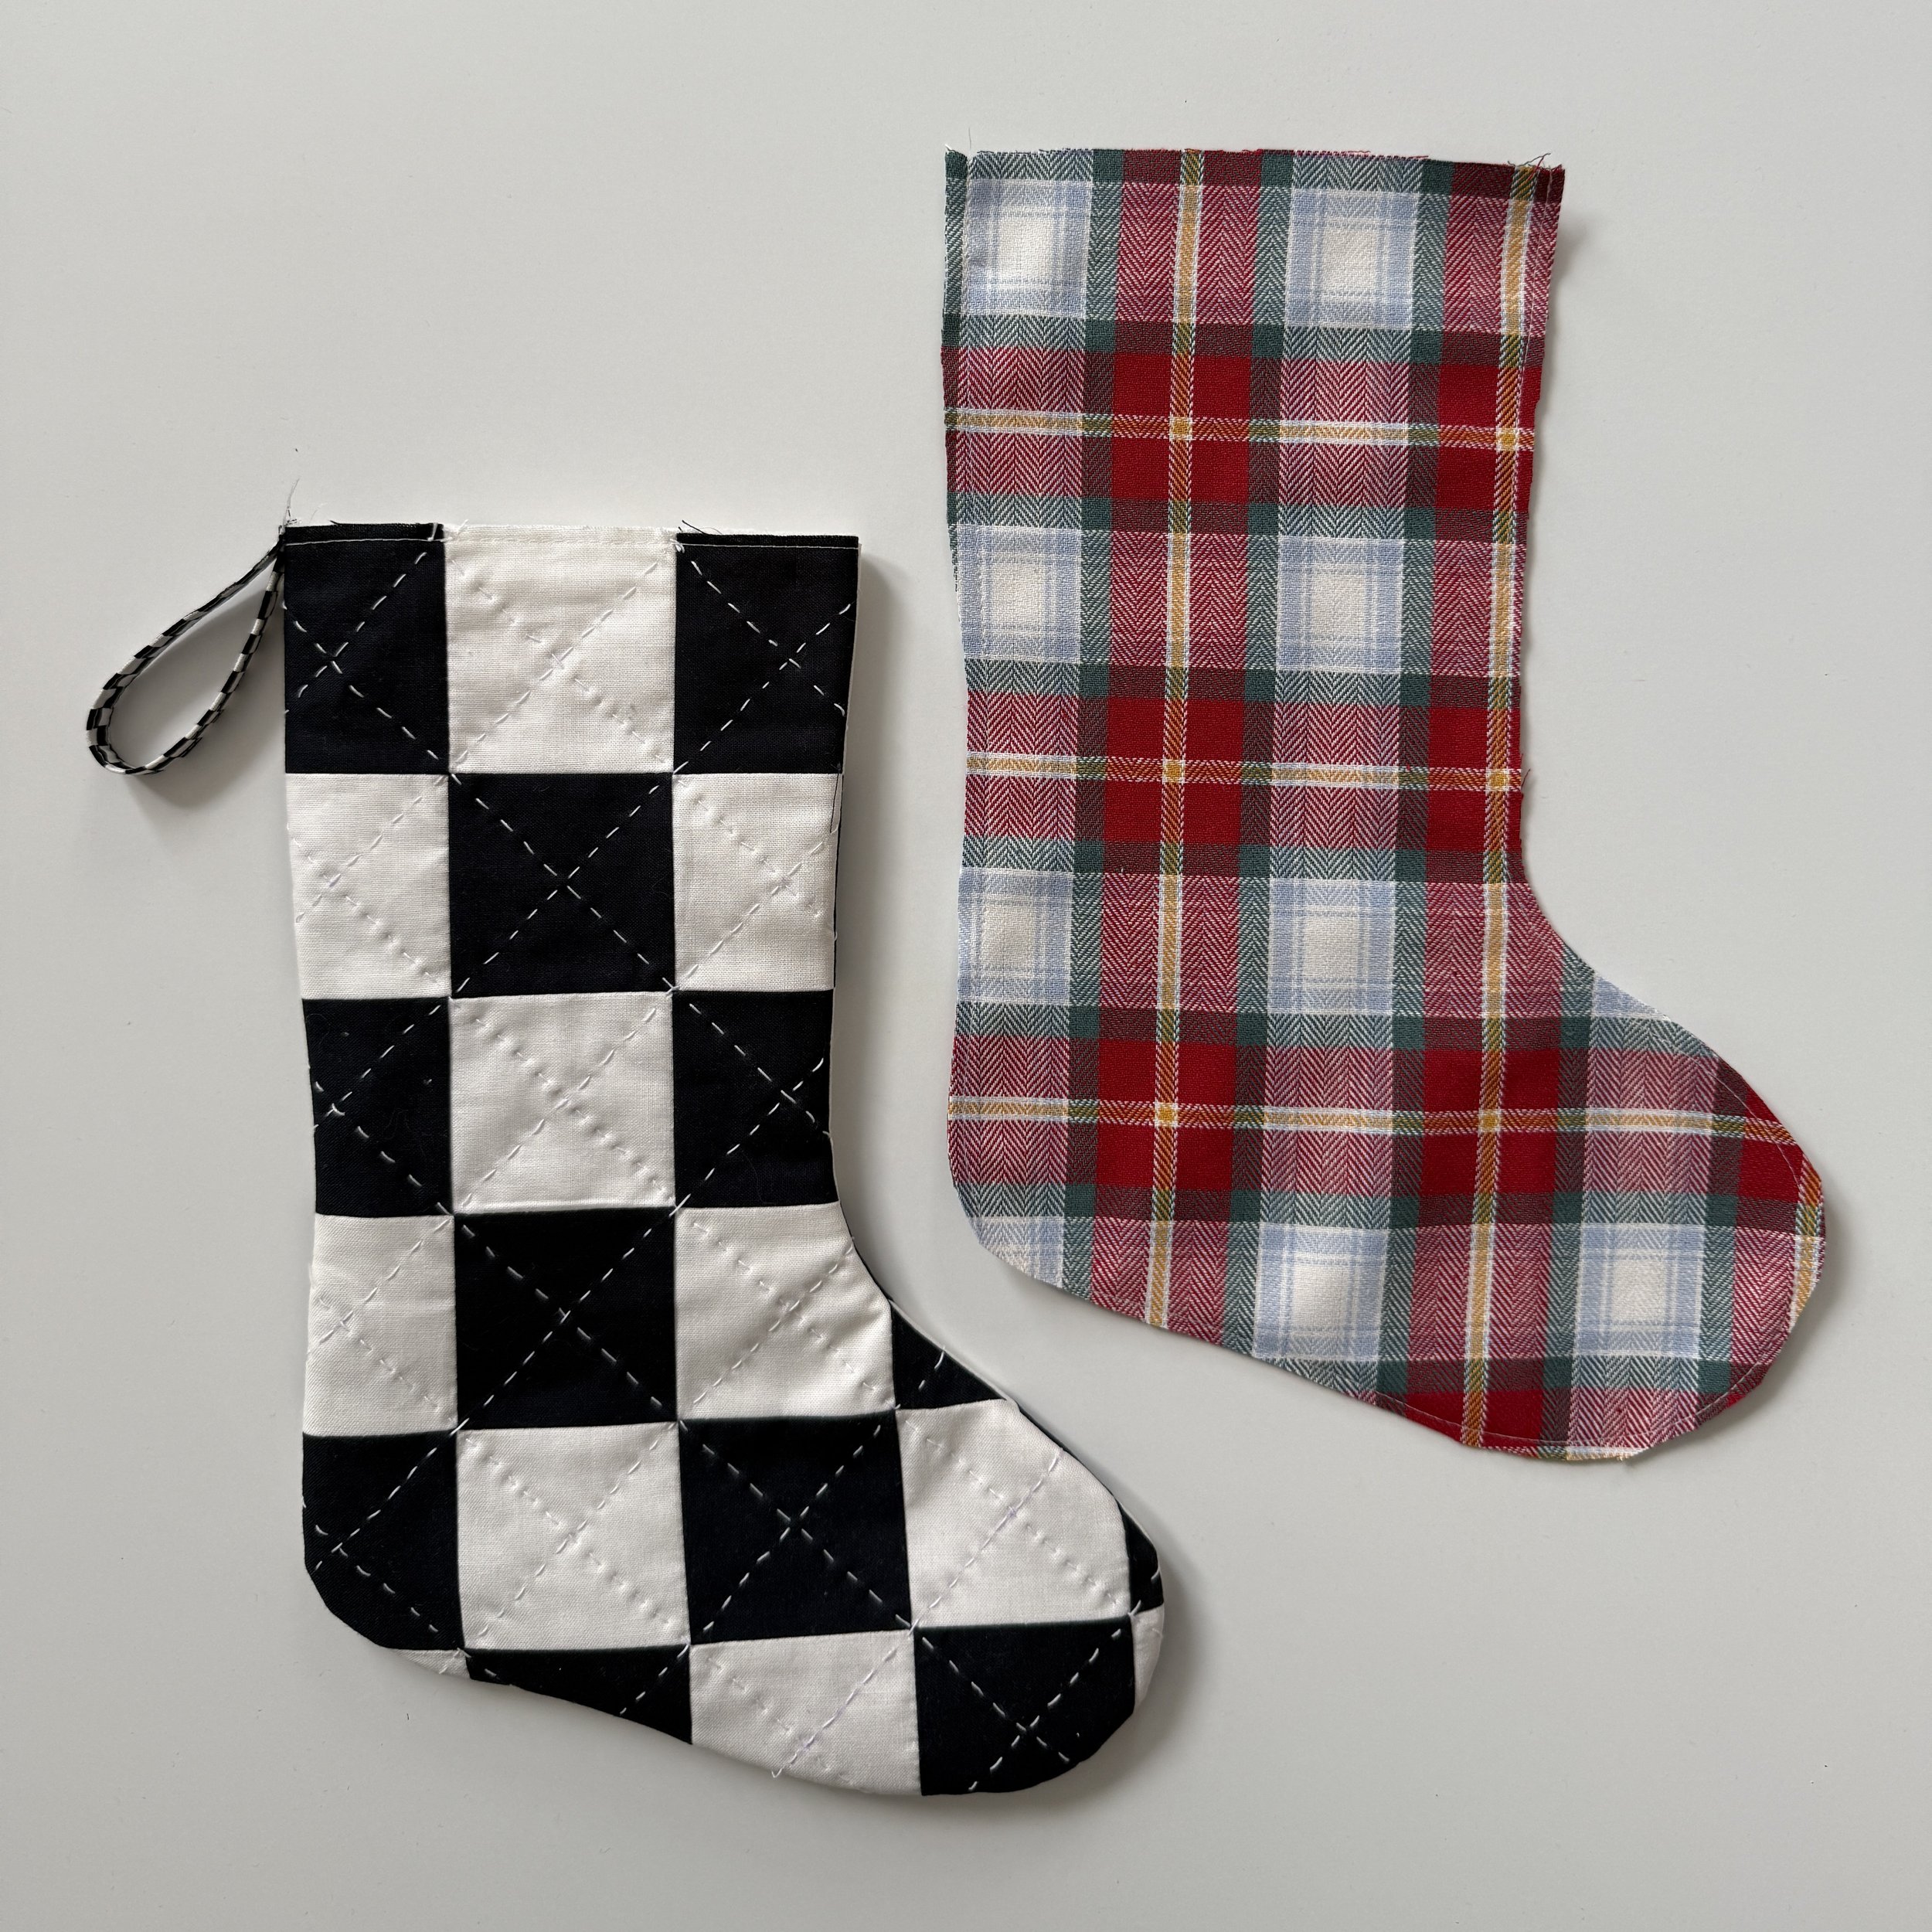
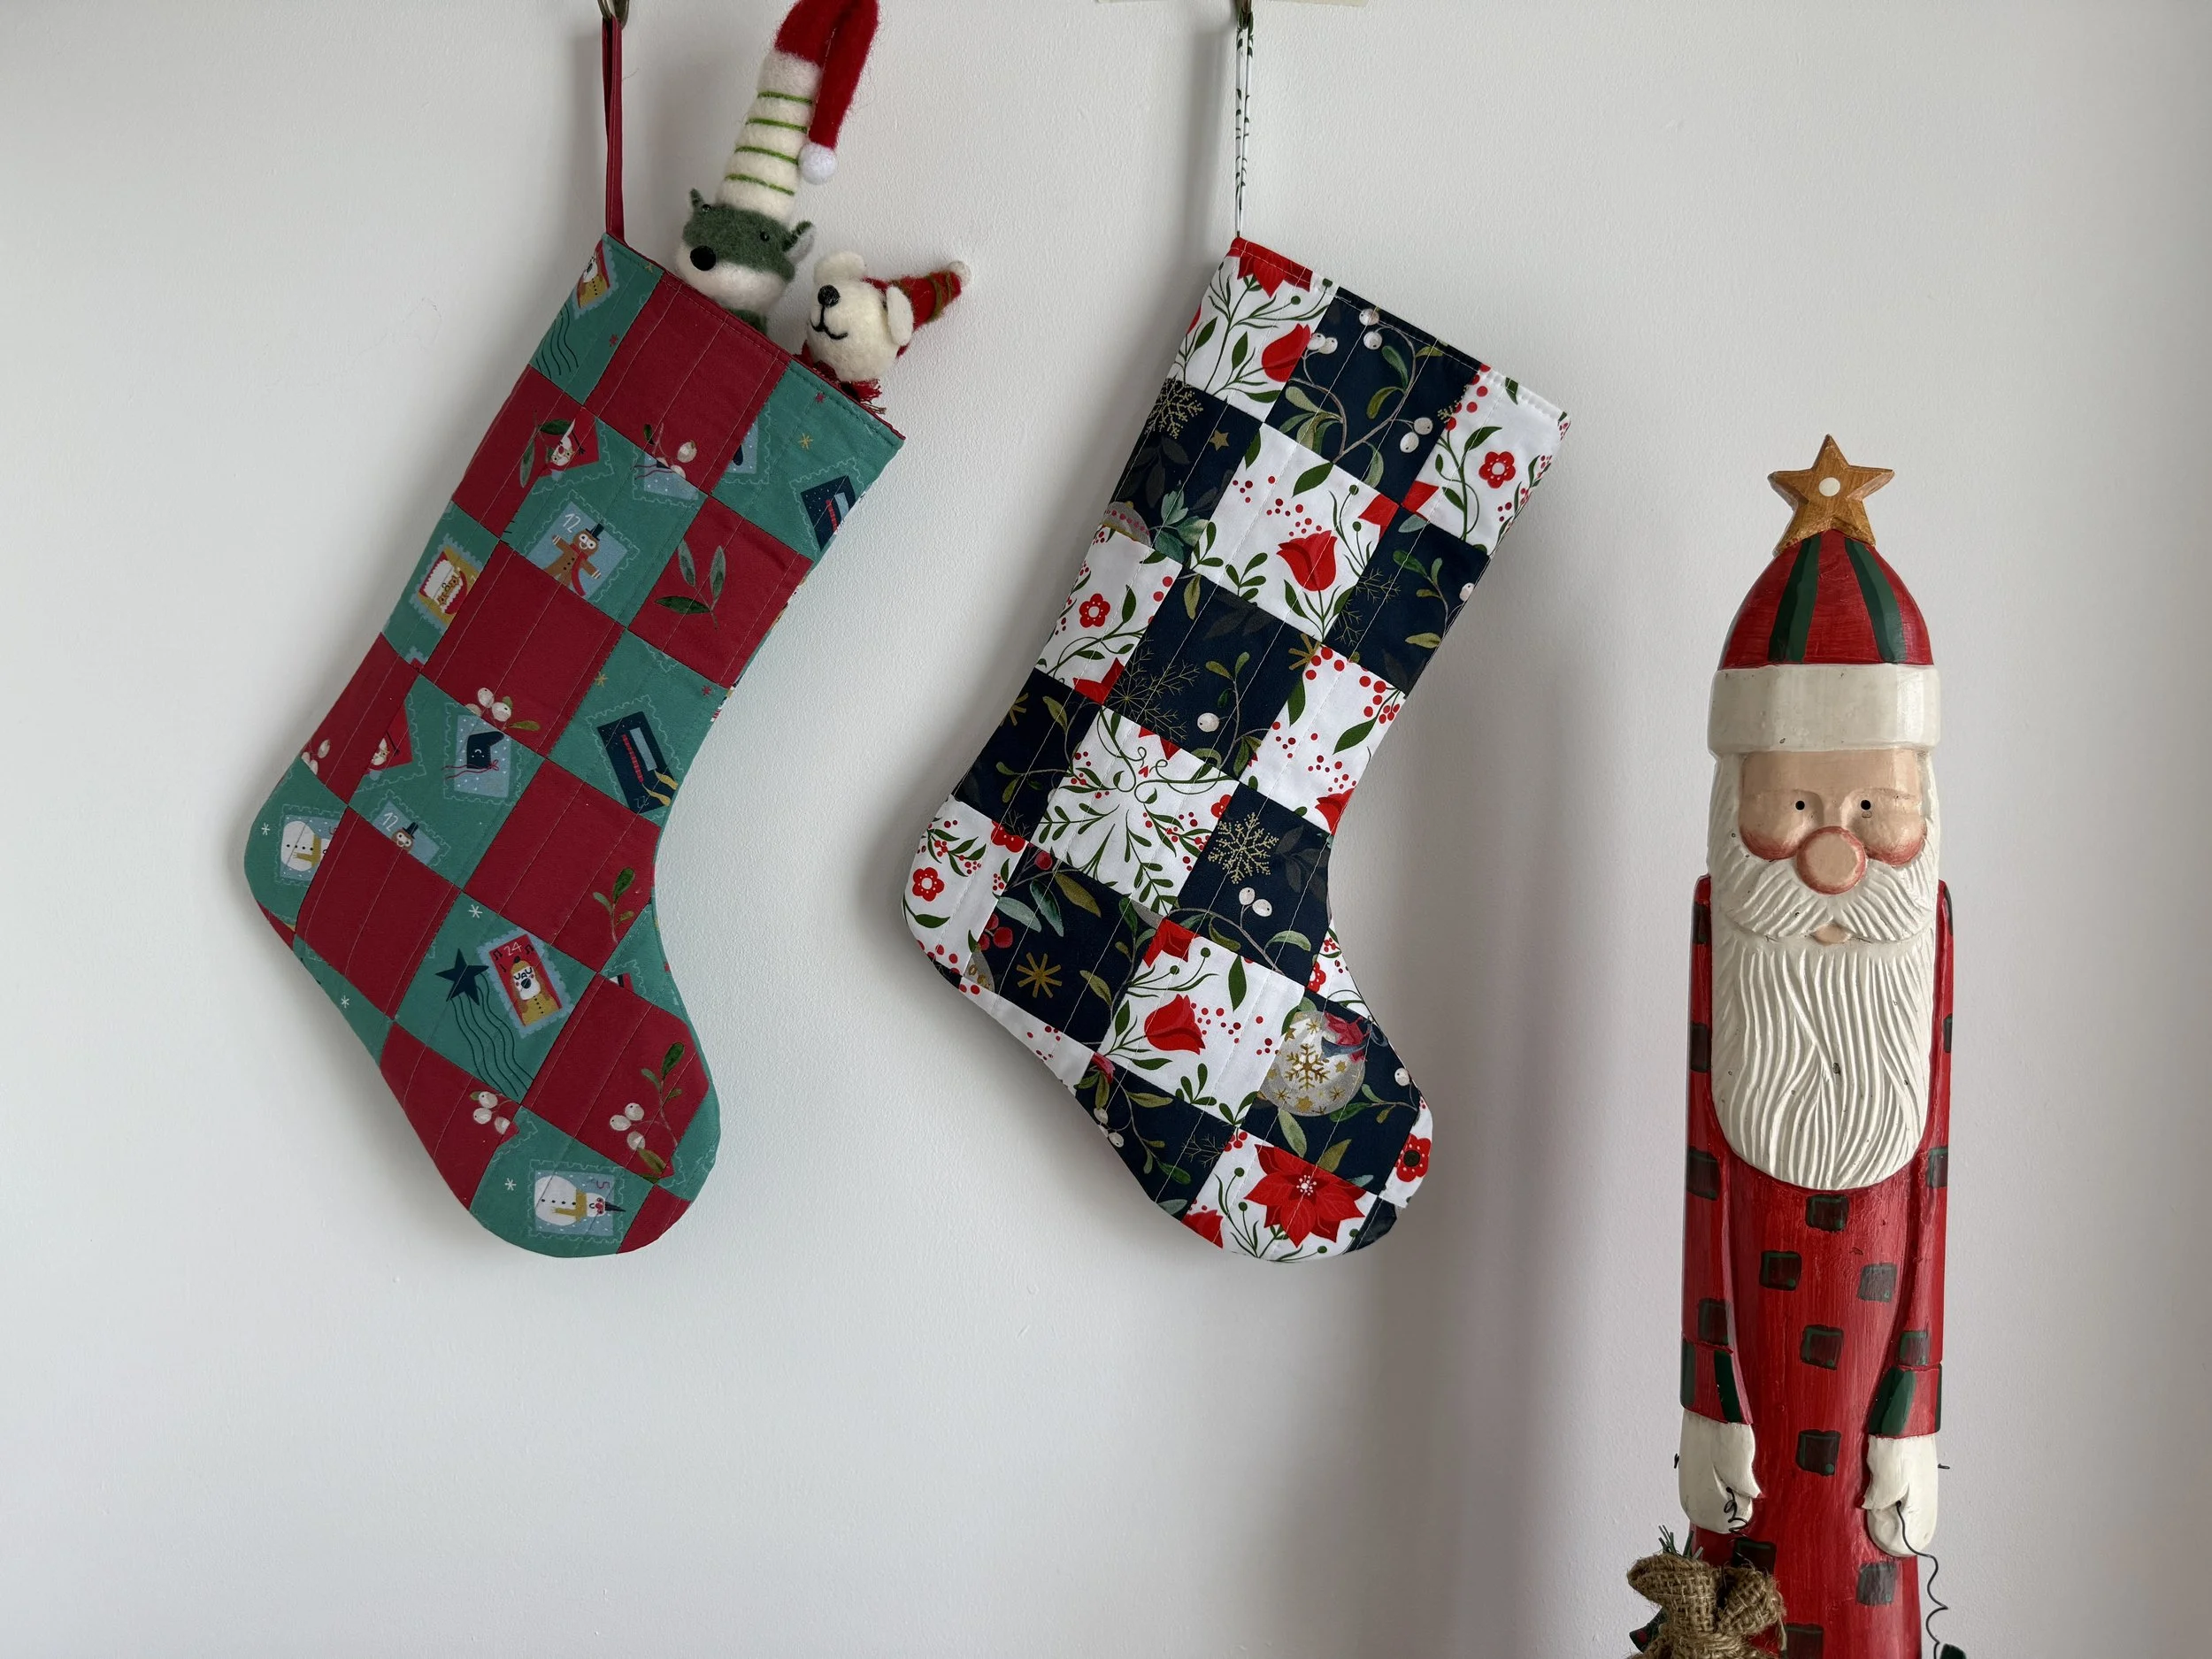
This stocking is fully lined with no raw or exposed edges and features a handy hanging loop. Plus, it adds so much charm to one’s Christmas decor, would you agree?
The beauty of this simple patchwork is that you can use prints or solids and arrange your squares in any design you like. Alternate your squares as I did, using either two or three prints, or you could also use all different prints for a true scrappy look.

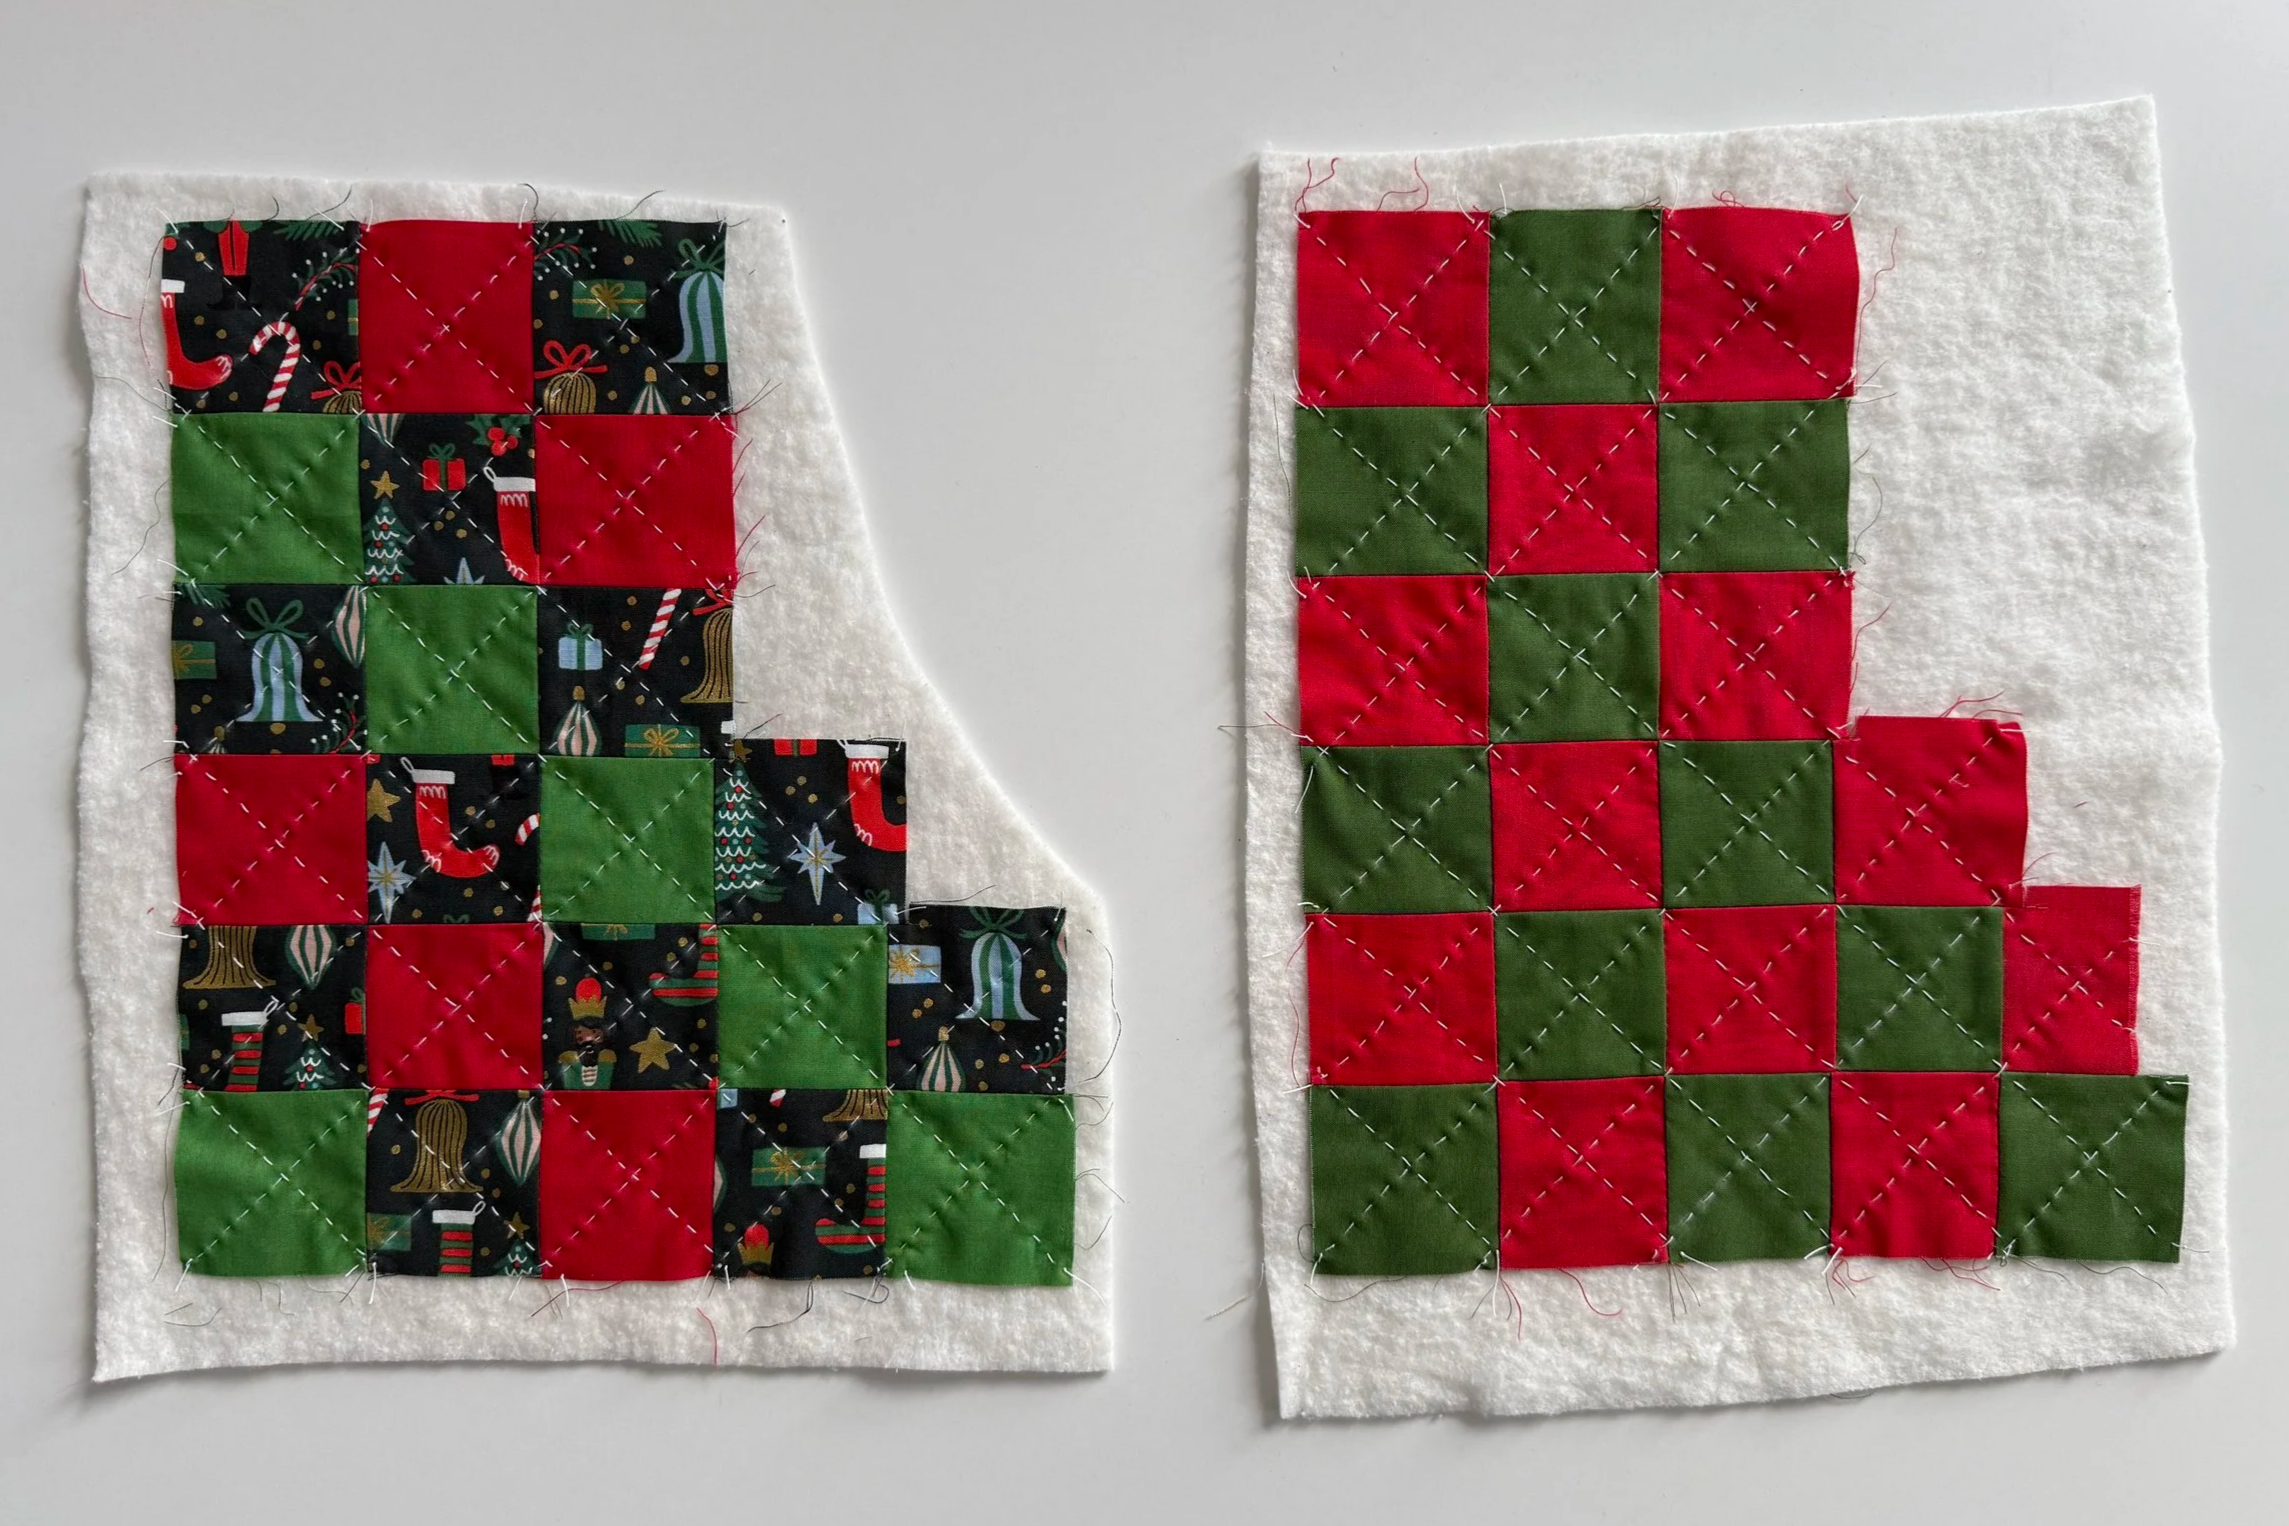
You will need to make two patchwork panels for the exterior of your Stocking. Make sure the shape of the two panels is the mirror image of each other. I also like to reverse the patchwork placement to ensure a seamless look on the sides.

To make one Christmas Stocking, you will need:
Printable TEMPLATE (click HERE) - make sure your printer is set to ''actual size or 100%'' (page scaling is set to ''none''). Do not select ''shrink to fit'' as that would result in your template being printed incorrectly. The provided template is the actual size, and a 1'' test square is included.
Exterior Fabric A ( quilting cotton): 23 - 3’’ squares, 1 - 1''x 5'' strip for the hanging loop
Exterior Fabric B ( quilting cotton): 23 - 3’’ squares
Cotton Batting: 2 - 14'' x 17'' panels
Lining Fabric (quilting cotton): 2 - 12'' x 16'' panels
A few useful tips before you start:
Use a walking foot for machine quilting. It’s not a necessity, but it definitely makes the quilting process go a bit smoother.
When assembling the Exterior and the Lining of your stocking, use a slightly smaller than usual stitch length. I usually use a 2.75 stitch on my Juki, but I set it to 2.25 for this project.
Use a 1/4’’ SA when assembling the Exterior of your oven stocking, and 3/8’’ SA when assembling the Lining.
Trim all your seam allowances to 1/8’’. This will ensure a neat, tight fit of your lining inside the exterior.
This is a fun, beginner-friendly sewing project, and to help you along, I recorded a video tutorial showing the whole process. Click on the link below to watch.
I hope you’ll enjoy sewing up these charming stockings :).
Thanks for stopping by, friends! Svetlana