QUILTED OVEN MITT

Click HERE to get the free OVEN MITT TEMPLATE.
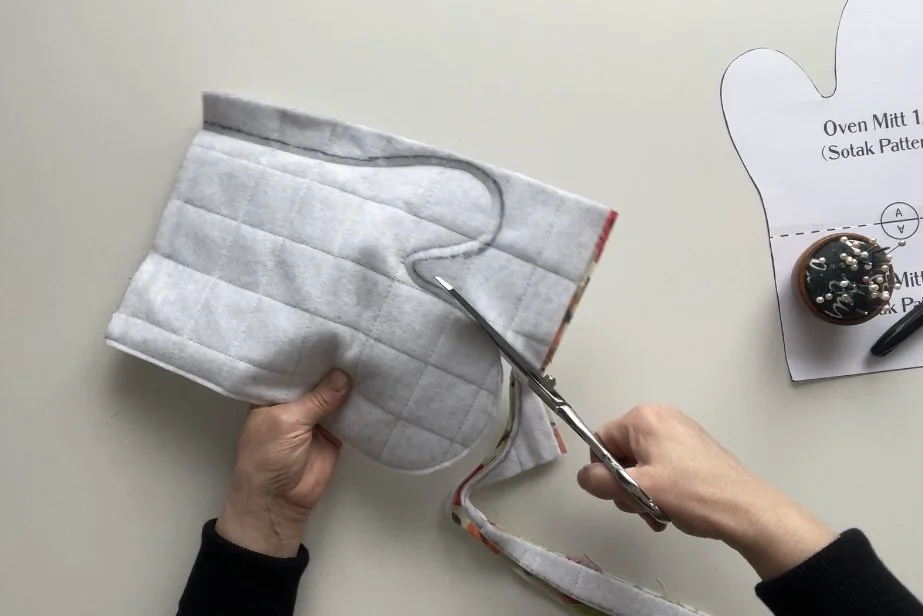
One of the things I love about sewing is that we get to make not only beautiful things but functional as well. These quilted oven mitts are a perfect example.
They are fully lined with no raw or exposed edges and feature a super handy hanging loop.
We use them in our kitchen daily, but I also enjoy making them for my friends and family as these cuties make for fabulous (and thoughtful) housewarming or hostess gifts.

I used four layers of material to ensure the mitts are safe and heatproof. I used canvas for the exterior, then added a layer of Insul-bright, then a layer of cotton batting, and finished things off with a quilting cotton lining. Lots of layers, I know. But they are all important, so don’t skip adding any of them.
This is a fun, beginner friendly sewing project that can be finished in an afternoon. And, to help you along, I recorded a video tutorial showing the whole process. Click HERE to watch.
To make one oven mitt you will need:
Printable TEMPLATE (click HERE) - make sure your printer is set to ''actual size or 100%'' (page scaling is set to ''none''). Do not select ''shrink to fit'' as that would result in your template being printed incorrectly. Provided template is actual size and 1'' test square is included.
Exterior Fabric (canvas, denim, home decor print, or quilting cotton): 2 - 9''x 12'' panels, 1- 2.5'' x 14.5'' strip for the edge binding, 1 - 1''x 5'' strip for the handle
Lining Fabric (quilting cotton): 2 - 9''x 12'' panels
Insul-Bright (this is what makes your oven mitt heat proof): 2 - 9''x 12'' panels
Cotton Batting (make sure to use 100% cotton batting, stay away from anything polyester): 2 - 9''x 12'' panels

A few useful tips before you start:
Use a walking foot to do the initial quilting. It’s not a necessity, but it definitely makes the quilting process go a bit smoother.
When assembling the Exterior and the Lining of your mitt, use a slightly smaller than usual stitch length. I usually use a 2.75 stitch on my Juki, but I set it to 2.25 for this project.
Use a 1/4’’ SA when assembling the Exterior or your oven mitt, and 3/8’’ SA when assembling the Lining.
Trim all your seam allowances to 1/8’’. This will ensure a neat, tight fit of your lining inside the exterior.
Click on the link below to watch the video tutorial.
I hope you’ll enjoy sewing up these mitts :).
Thanks for stopping by, friends! Svetlana